Aug 2020: Upon The Roof

In August I started putting up the roof decking.  To get the rather heavy OSB sheets up to the second story by myself, I relocated my block-and-tackle that I had been using for the SIPs onto the top of the rafters.
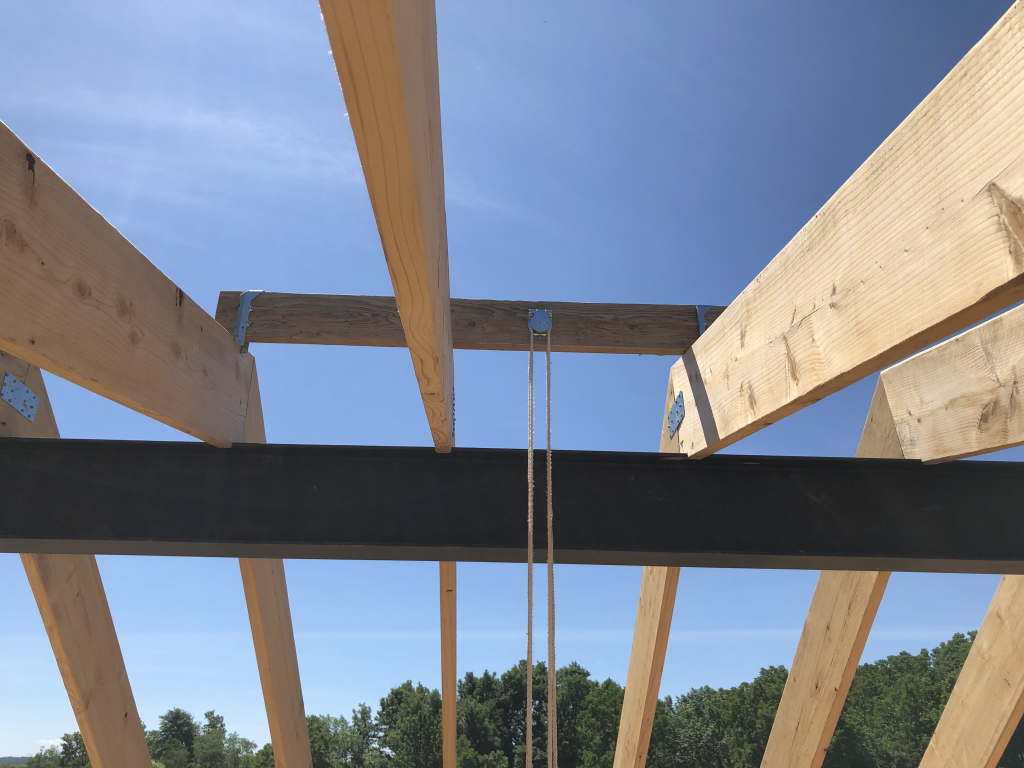
2020-07-18 Block and Tackle for Roof Decking

I started hauling material up and began placing the first few sheets on the shallower north side.  I found that even with the 3:12 slope, I needed to attach ropes to the pieces to ensure they didn’t simply slide off.  I got my first sheet up on Aug 2, but being up there that close to a ~15 foot drop was pretty nerve-racking.  Back on Jul 15 I had ordered quite a bit of safety equipment from the aptly named Knot and Rope Supply… but there was a long COVID delay.  I kept gradually putting up sheets on the less-steep-north side with jury-rigged safety equipment.
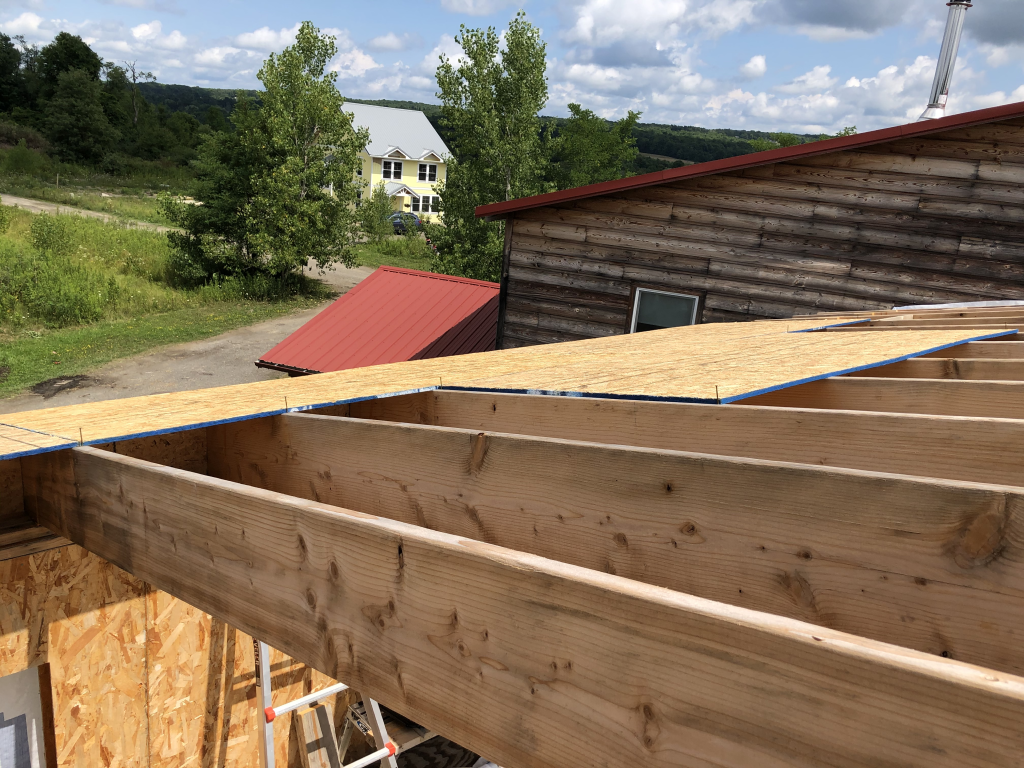
2020-08-08 Roof Decking
2020-08-08 Roof Decking with Spacer Nails

One of the things worth noting is that roof decking needs some gaps to allow for expansion, to prevent buckling.  The OSB is actually slightly undersized to account for this.  The gaps are supposed to be about 1/8″ on all sides, which happens to be almost exactly the diameter of an 8d (eight penny) common nail.  If you look closely enough at the image above you can see the nails that were driven in at various places to ensure this space.  The other thing that I had to do in some places was to push the rafters into alignment – 16′ long boards aren’t perfectly flat, and everything is easier if the spacing is more uniform.  You can see the long clamp in the photo below being used to push two rafters apart.
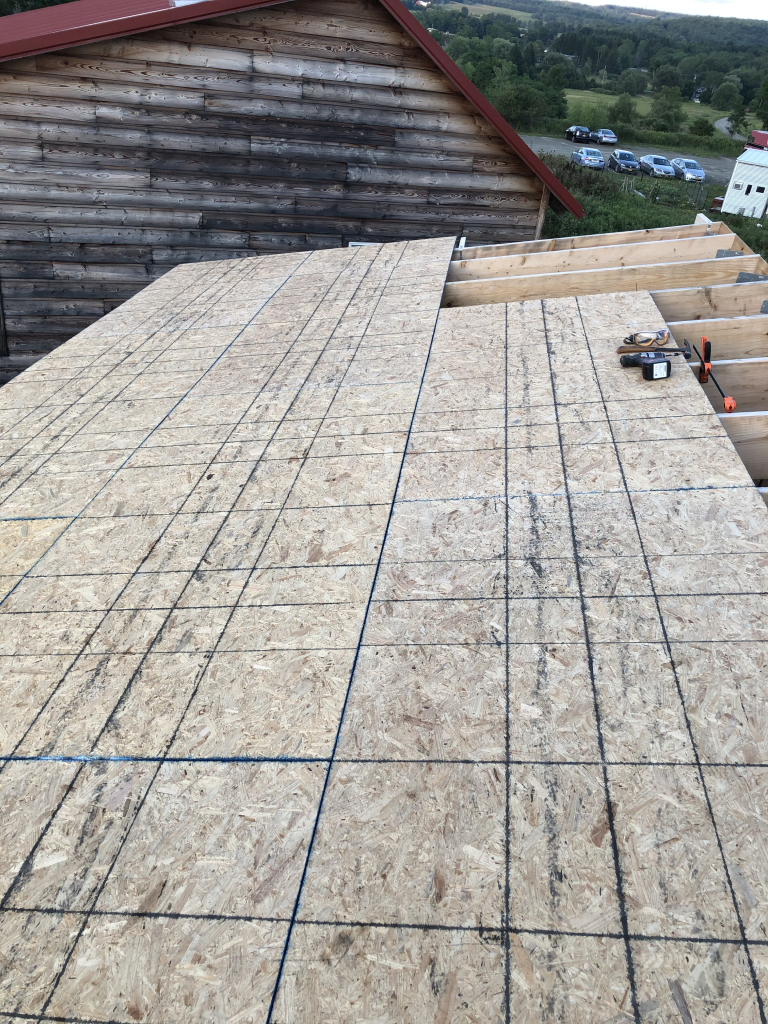
2020-08-08 More Roof Decking

Still, before I spent too much time up on the roof, and particularly on the steep south side, I wanted that safety gear. During the delay I worked on some slightly less treacherous things.  I also had to add extra gable end rafters so that the roof would extend another foot and a half on each side to form a drip edge.  Again, lots of safety ropes, because I was trying to hold 2x6x16’s essentially in mid-air while they were screwed into place.  Sorry I don’t have a video, I’m sure it was quite a sight.  Below you can see a few of the blocks that attach the gable end rafter to the final on-wall rafter.  (Also, entertainingly, you can see on the ground in the background the kind of roof trusses that are used for most of the homes here—did I mention that another house is going up adjacent to this one?—if you want to build a roof the “easy way.”)
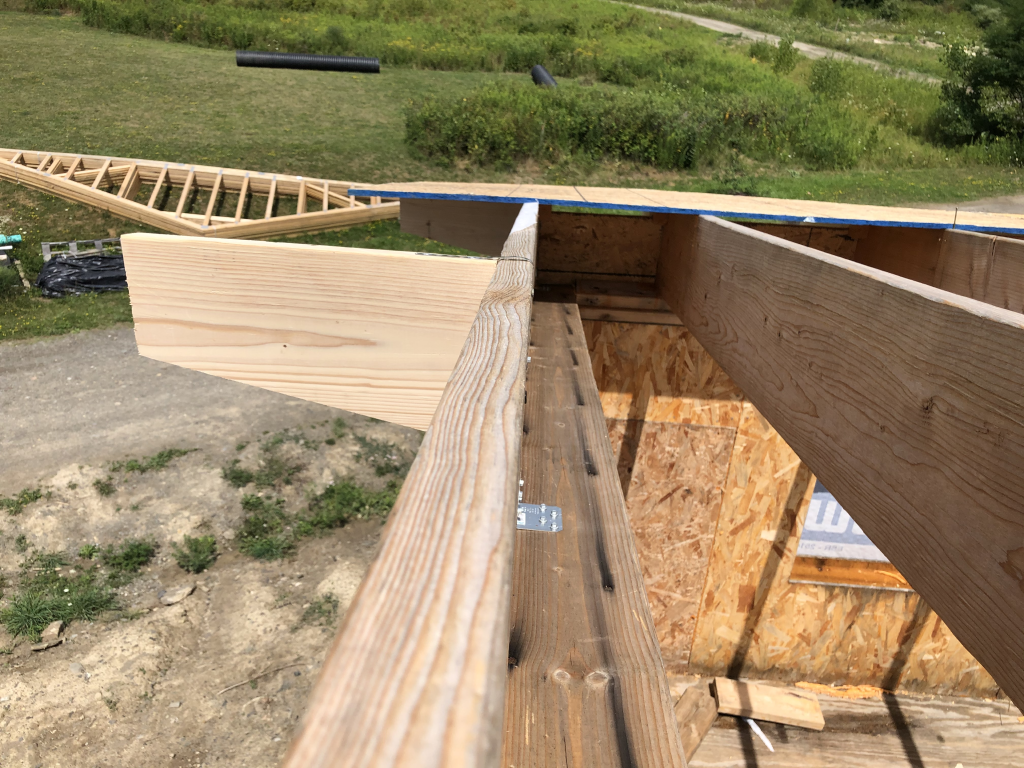
2020-08-08 Support Boards for Gable Ends

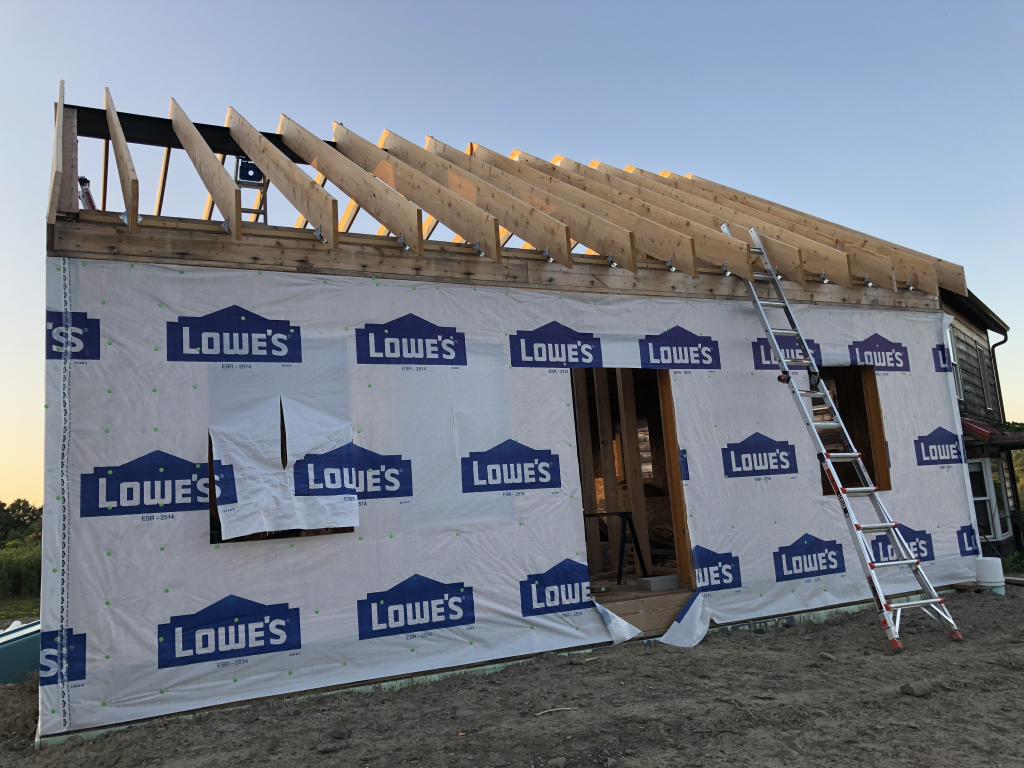
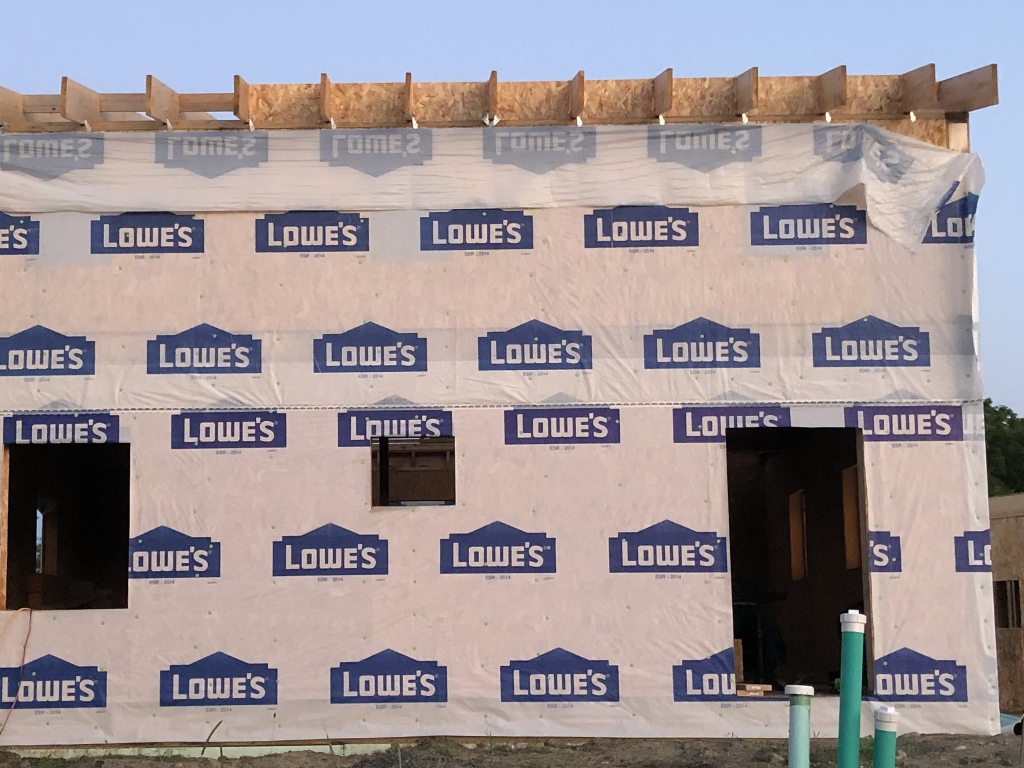
I worked on finishing the house wrap on the gable ends.  I also put up some of the fascia, which I could do on a ladder from below.
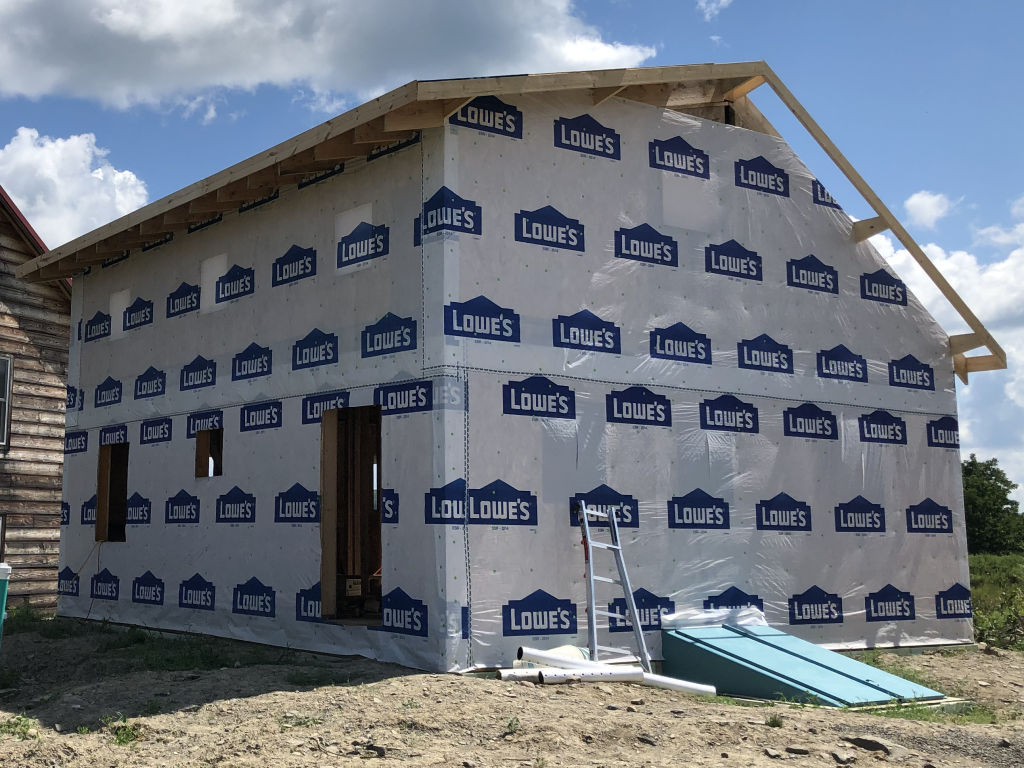
2020-08-16 House Wrap, Gable Ends, and Fascia

The safety equipment finally arrived on Aug 14, and by Aug 23 I had the south side fully decked.
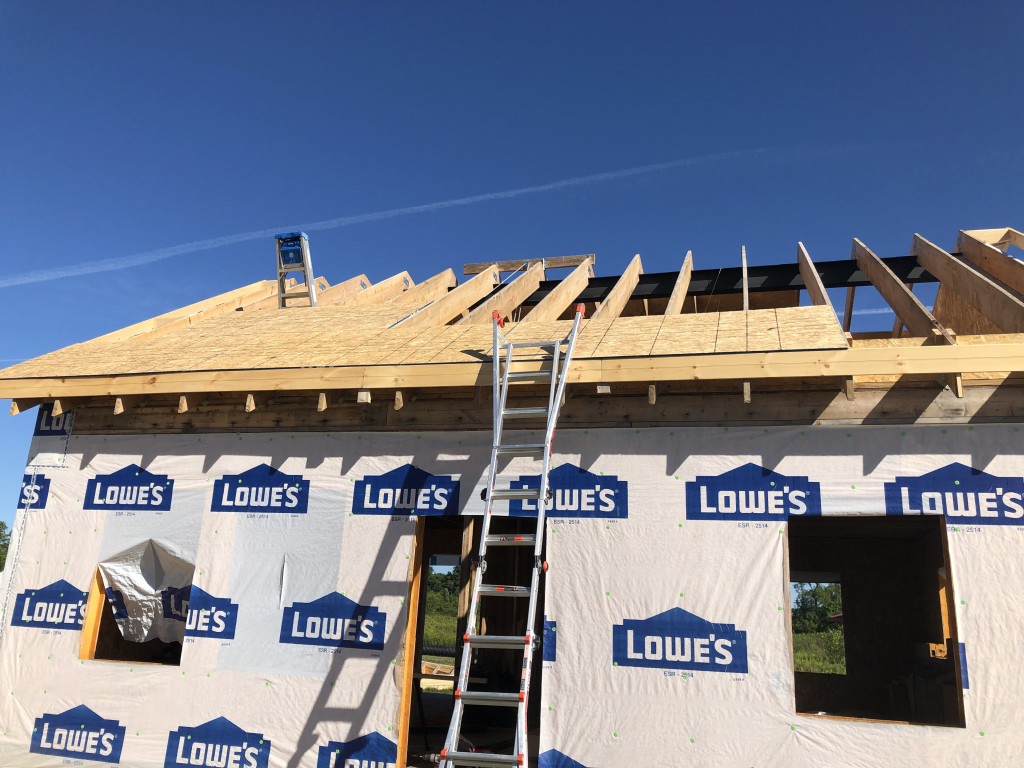
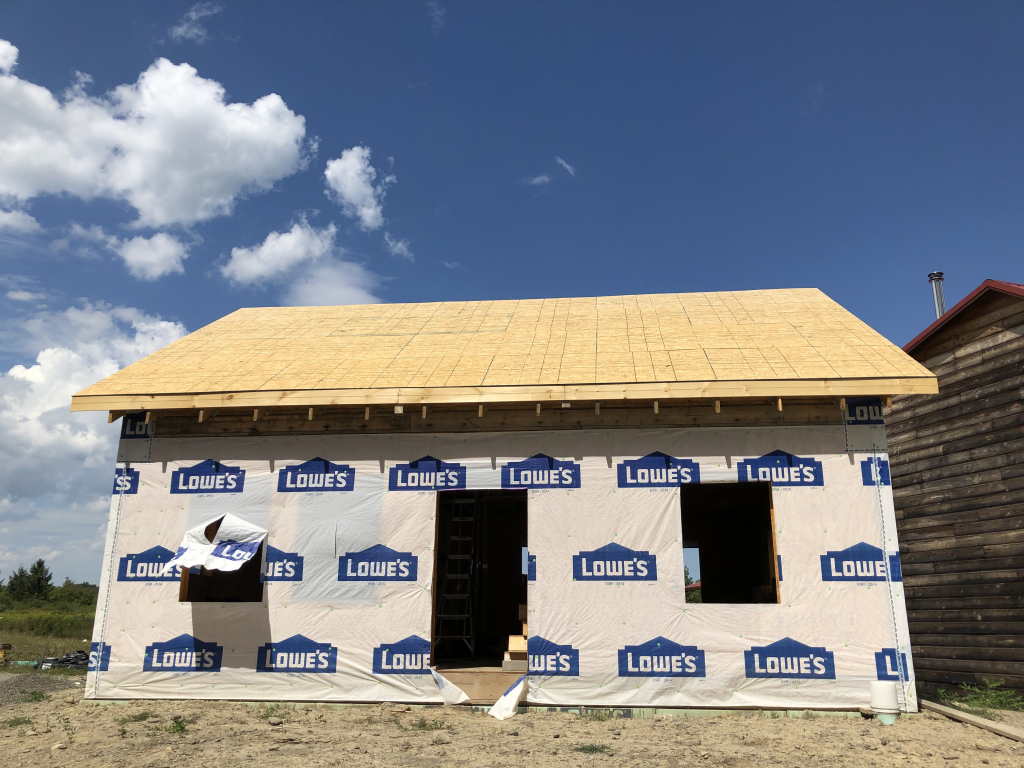
2020-08-20 South Decking Underway
2020-08-23 South Decking Complete

I then went back and finished the north side except for one panel which I left off so that I would have a way to access the roof for further work laying down underlayment or “roofing felt.”
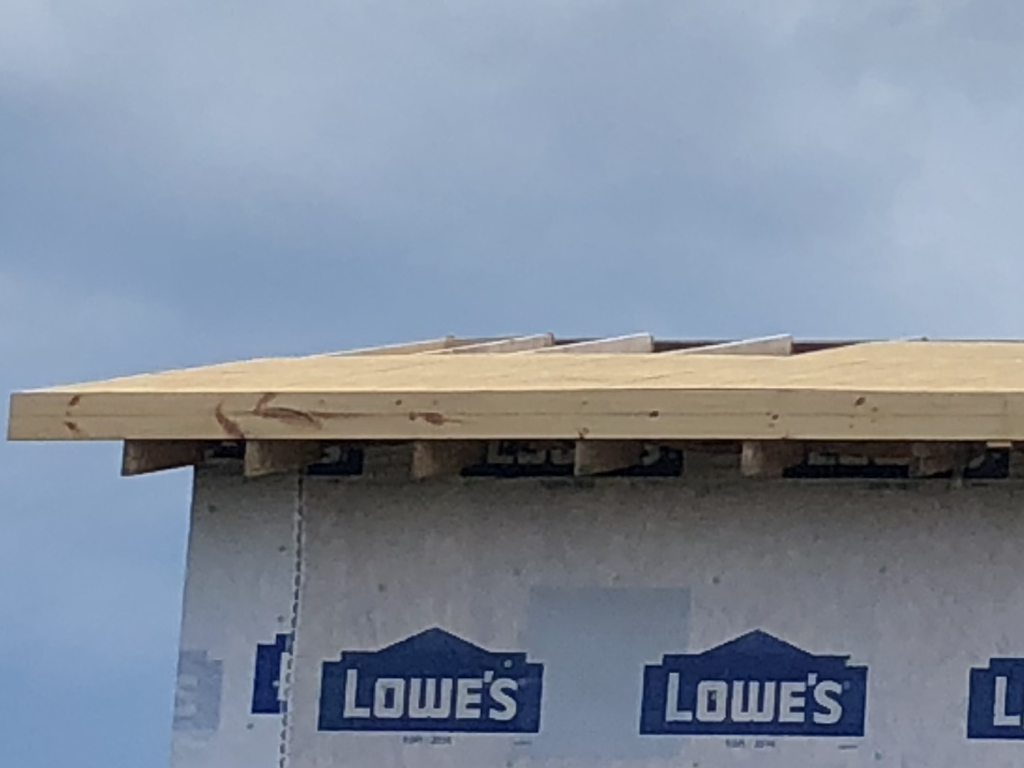
2020-08-23 North Roof - Last Open Corner
2020-08-23 North Roof – Last Open Corner

One thing that isn’t really visible in any of these contemporary photos is the roughtly 4″ gap at the top of the roof which remains to allow air to circulate under the decking.  I’ll elaborate more on that later, but here’s a cheater photo (taken in Sep.) to show the gap.  At the top left you can see a push broom for scale; at the bottom right you can see the top end of the mountain-climbing/safety rope which is tied to the I-beam below.
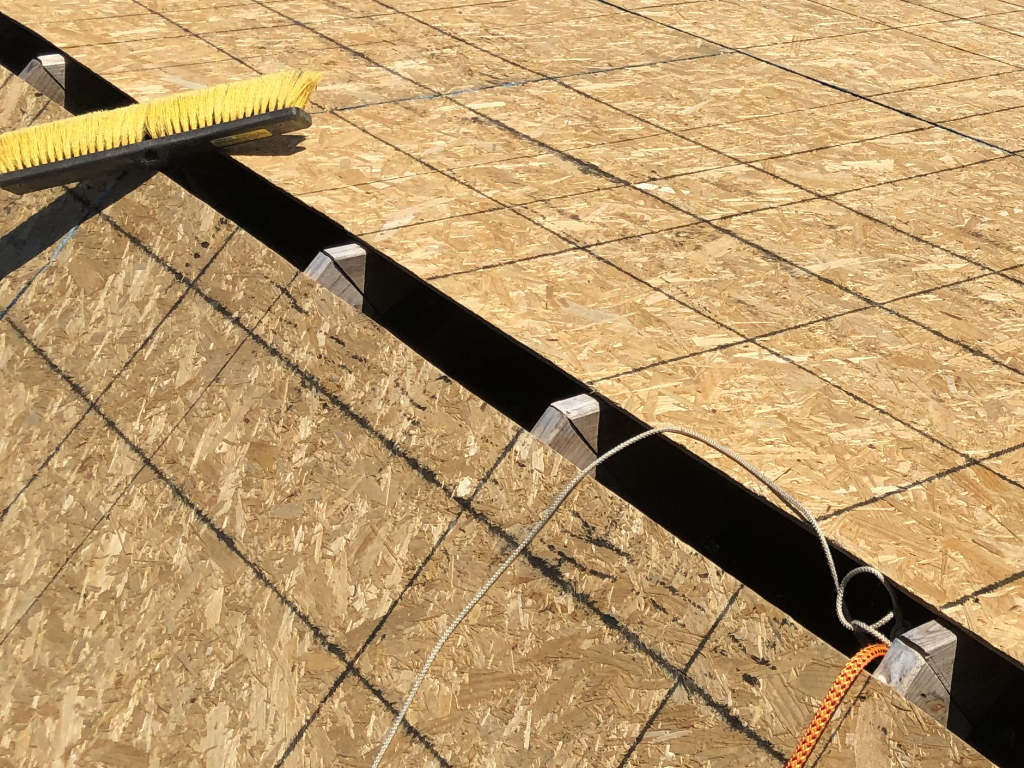
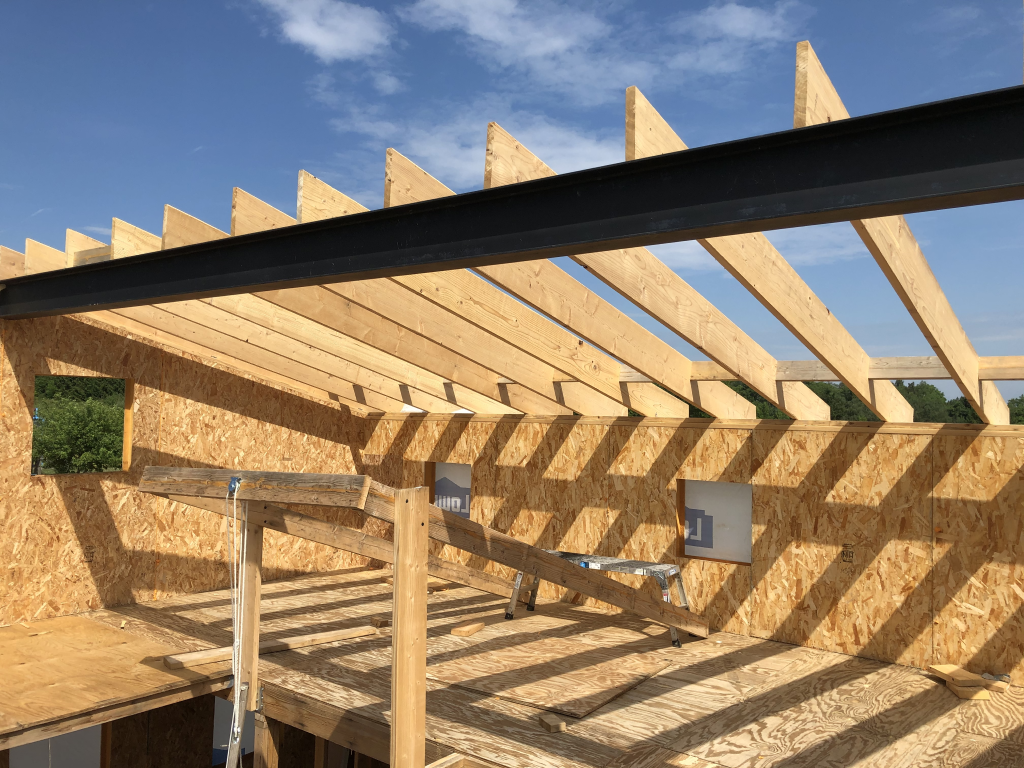
2020-09-20 Vent Gap at Roof Peak

Jul 2020: Up the Ladder to the Roof

When I was in college, The Nylons were very much in vogue.  I am sure it never occurred to me at the time that I might be climbing said ladder for the purpose of building said roof.

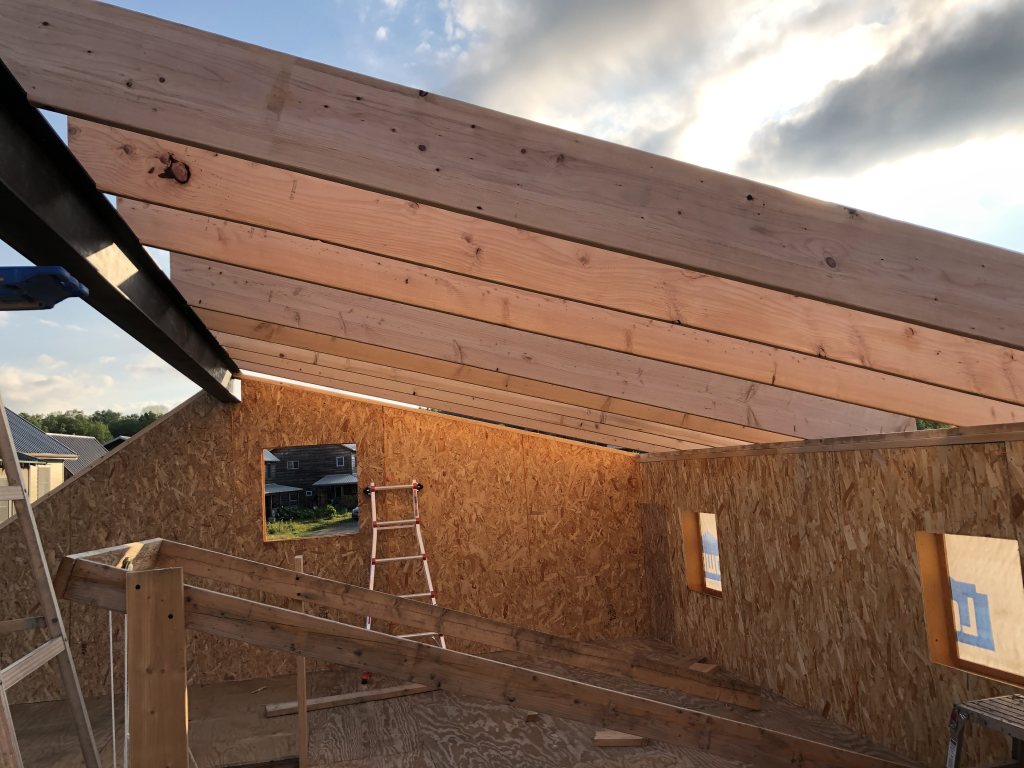
Cutting rafters is at lot of science and a small amount of art.  I learned the technique many years ago when I was drafted for the job during the construction of our community’s horse “run in” (think of it as half a barn).  It involves a lot of work making cuts known as “birdsmouths“; if you were to try to place a rafter without such a cut on top of the beam and top plate, what it would do is simply slide off (and hopefully not fall on anyone).  To avoid having the rafters naturally pulling away, they need to be resting on a horizontal surface.  The top of the beam and the wall plate are horizontal, and the birdsmouth cut—which looks like it’s at an angle when you’re staring at an uninstalled rafter—aligns with this horizontal surface when the rafter is installed.  This is where the old fashioned carpenter’s framing square really shines.  If you know the pitch of your roof—typically specified as a ratio in inches or feet, like my 3:12 shallow north side and 8:12 steep south side—you can simply find those number of inches on the two legs of the square and find it lined up exactly at the angle you want.

Making matters slightly more particular, the cuts can’t be more than a certain depth, but have to be a certain width, and various other parameters in order to meet code.  As mentioned last month, my oversized 2x12s really only needed to be 2x10s, and allow for a slightly deeper cut.

2020-07-03 North Side Rafters

The art comes in to figuring out which portions of the design you can simply repeat over and over for 13 rafters on each side, and which ones need to be carefully measured.  Art isn’t my strong suit.  I did a lot of measuring, averaging about 1h22m per rafter, for a total of almost 36 hours.  Pretty much every rafter went up once for measurement, down again for cutting, and back up again into place.  Also, until you get very familiar with it, you’ll probably find yourself turning the framing square around at least once and maybe twice for every single birdsmouth you try to mark.

Oh, and then there were those two outer rafters.  These turned out to be quite a chore, because the birdsmouths on the interior rafters caused them to fall slightly lower than the level where the cut SIP edge lay.  In the end I wound up having to do long rip cuts to adjust the rafters to match up with a level top surface.  Slightly more careful thought about the relation between the SIP cuts, inlet nailers, and beam position would have been helpful here.  Oh well, it worked.

2020-07-17 South Side Rafters

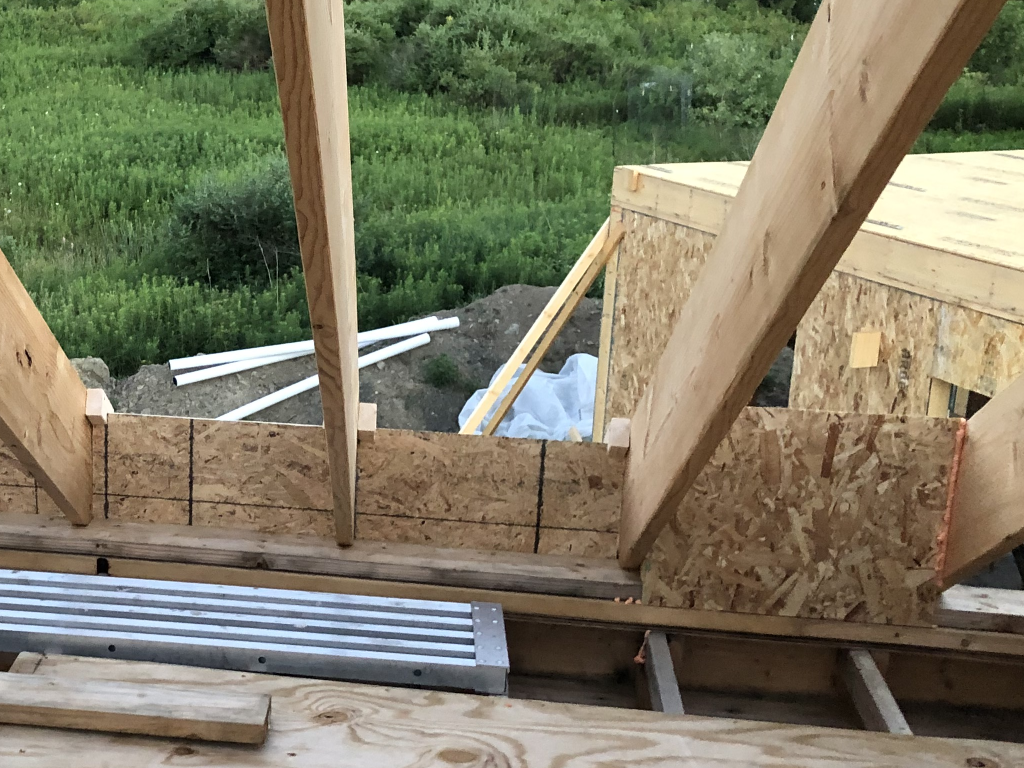
After putting the rafters in place, I started on what would become another of the many facepalm manoeuvres: placing blocking SIPs between the rafters.  It seemed like a good idea—in fact, it probably was a good idea—but for the fact that I didn’t think about the need for a gap for the roof ventilation (more on that later).  I got about this far before I realized the problem:

2020-07-24 Rafter Blocking SIPs

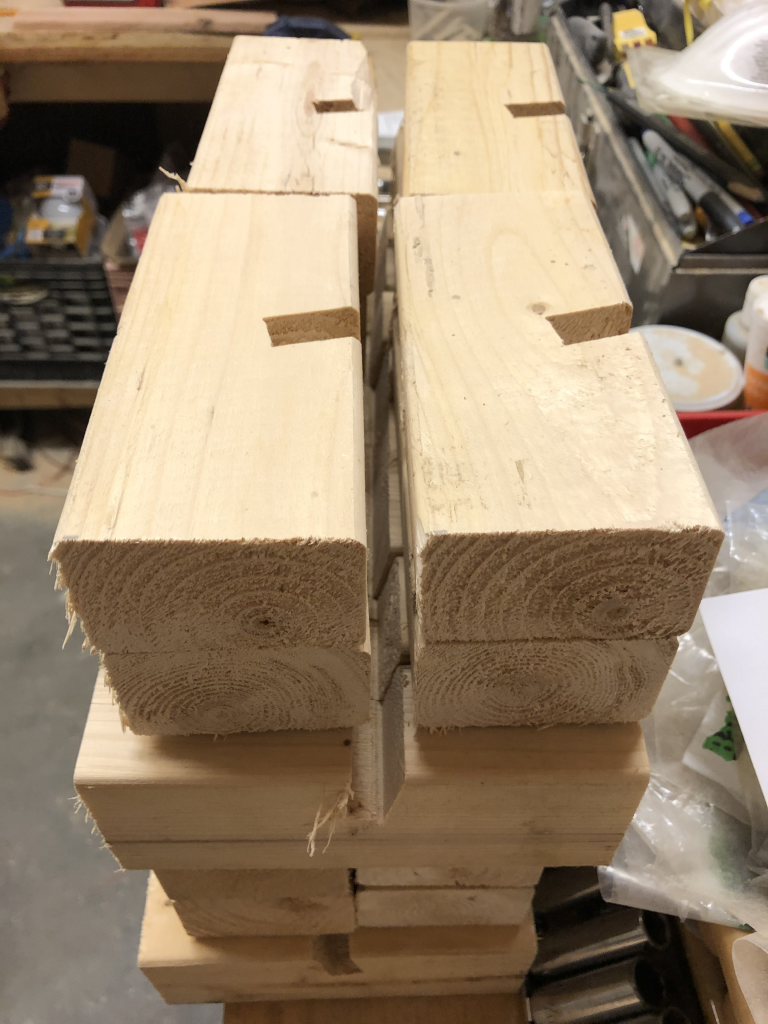
The second hand of facepalming was because that each one of those SIP blocks was a lot of work (about 22 hours).  Each one needed a carefully miter-cut 2×8 plus a lot of manually cutting foam out of the SIP; because of the angle, it wasn’t possible to use the SIP panel router.  That was a big part of the reason I decided to change strategy for the fix, rather than just cutting them down and trying again.  The replacement amounted to simply installing OSB panels, and then putting in foam board insulation with spray foam sealing after the fact.  However, the top end of these OSB panels had to be solidly anchored since they would be about 1-½” lower than the top of the rafters.  I settled on making a lot of small 2×3 blocks with angle cuts to slide around the OSB:

2020-07-28 OSB Angle Blocks

More than that.  A lot.  56 in total.

2020-08-01 Way More OSB Angle Blocks


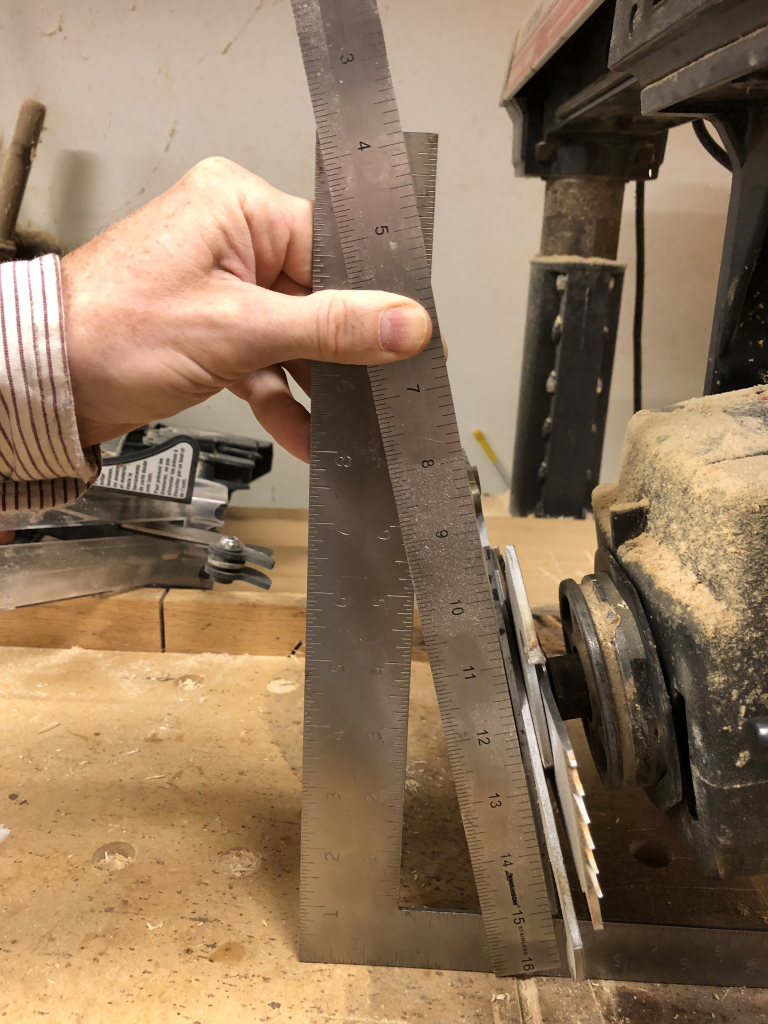
How to make these efficiently is may actually be an interesting aside.  I cut the 2x3s down to a more manageable length (4′), and then set up a dado blade to make a cut of the right width to match the OSB (a little wider, so I wouldn’t have to deal with it binding).  But the dado blade had to be angled to match (or more accurately reverse) the angle of the rafters to meet the vertical OSB sheets.  Once again, the carpenter’s square (small version) comes to the rescue:

2020-08-01 Dado Blade Angle Setup

Just a word of caution: I had to take the blade guard off to swap the standard blade on the radial arm saw for the dado blade, and to set the angle.  Do what you need to be safe here.  Unplug the saw if you have to.  Put the blade guard back before you plug it back in.  Never stand in line with the blade when cutting.  You know the drill… er, the old saws… yeah.

So here’s what the old and new solutions look like side-by-side as I was pulling one out and replacing it with the other.

2020-07-28 Two Blocking Solutions


Jun 2020: Paper and Cranes

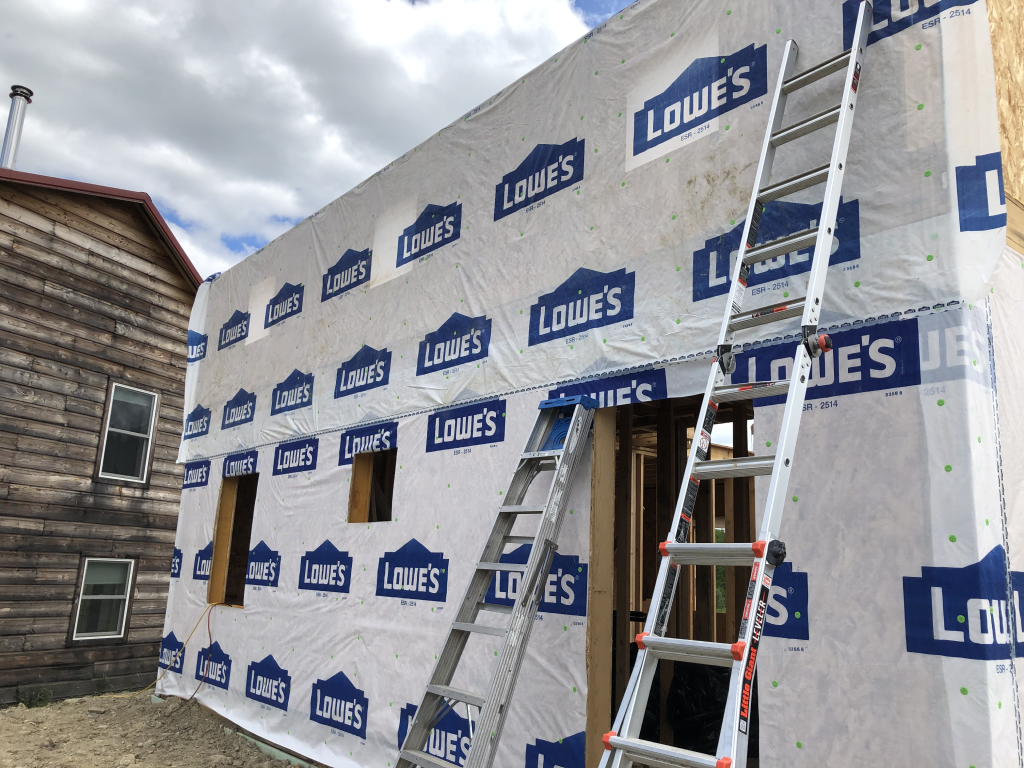
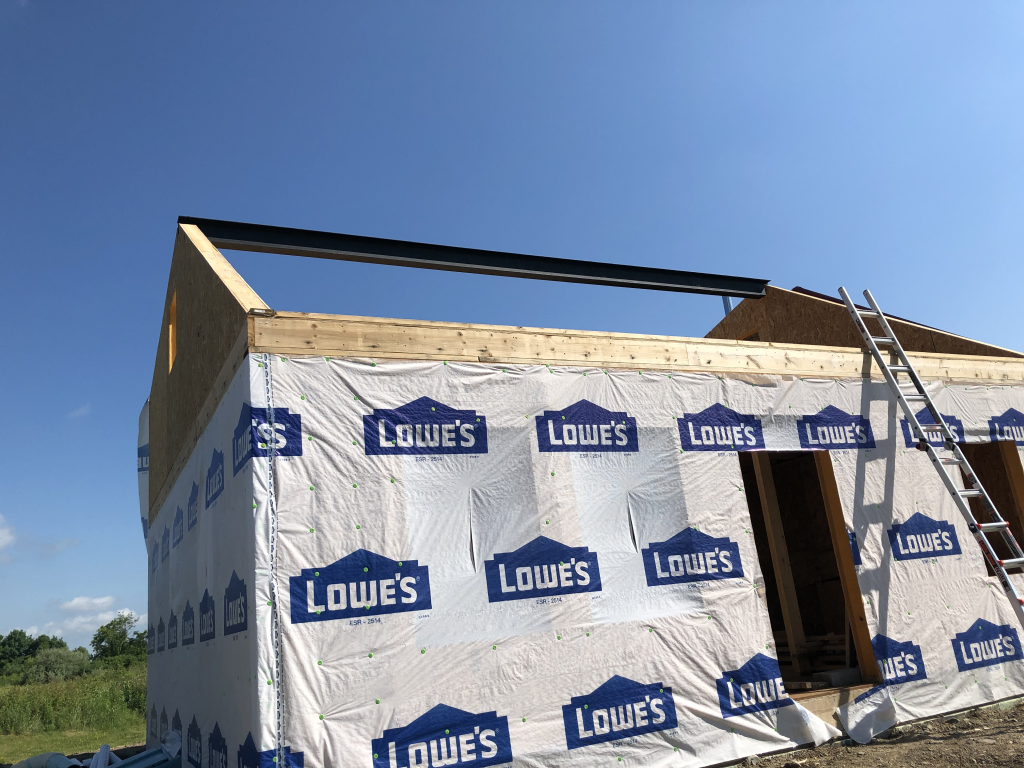
By early June, the SIPs were in place and I began to cover the house in “house wrap”.  This is a breathable material (often Tyvek) that is used to keep water from saturating the walls, while still allowing trapped water vapor to escape.  It’s part of a complex system for making the house weatherproof.  I wanted to get it up sooner rather than later to keep the sun and rain off the outer surface of the SIPs.

2020-06-14 House Wrap Going Up


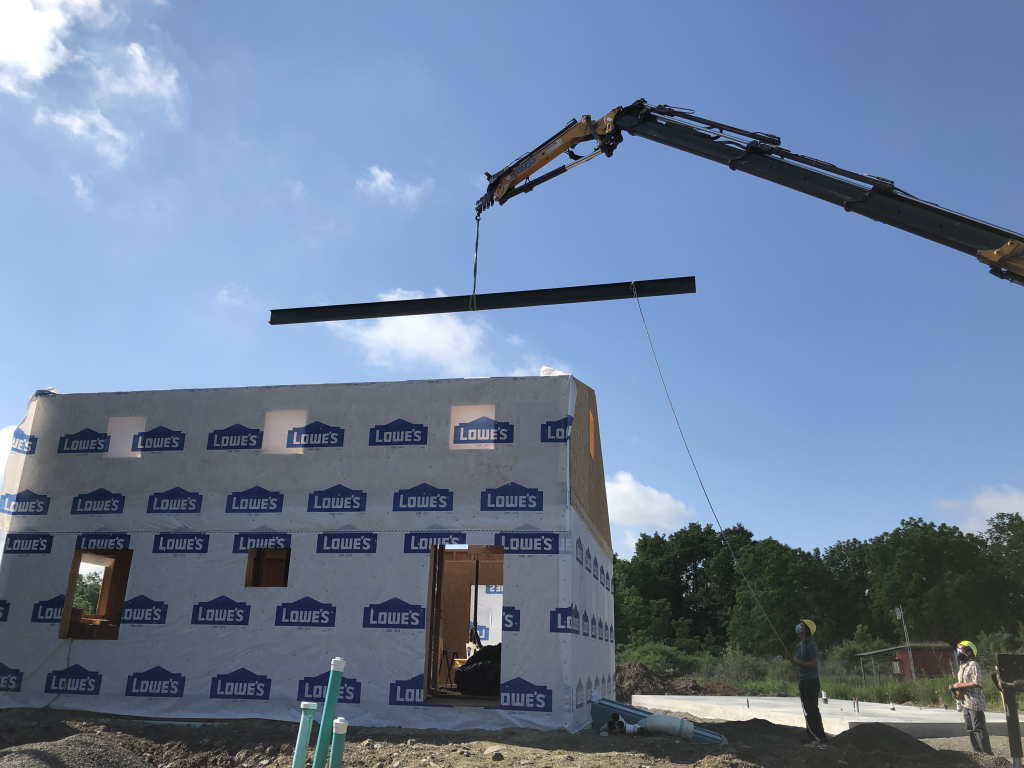
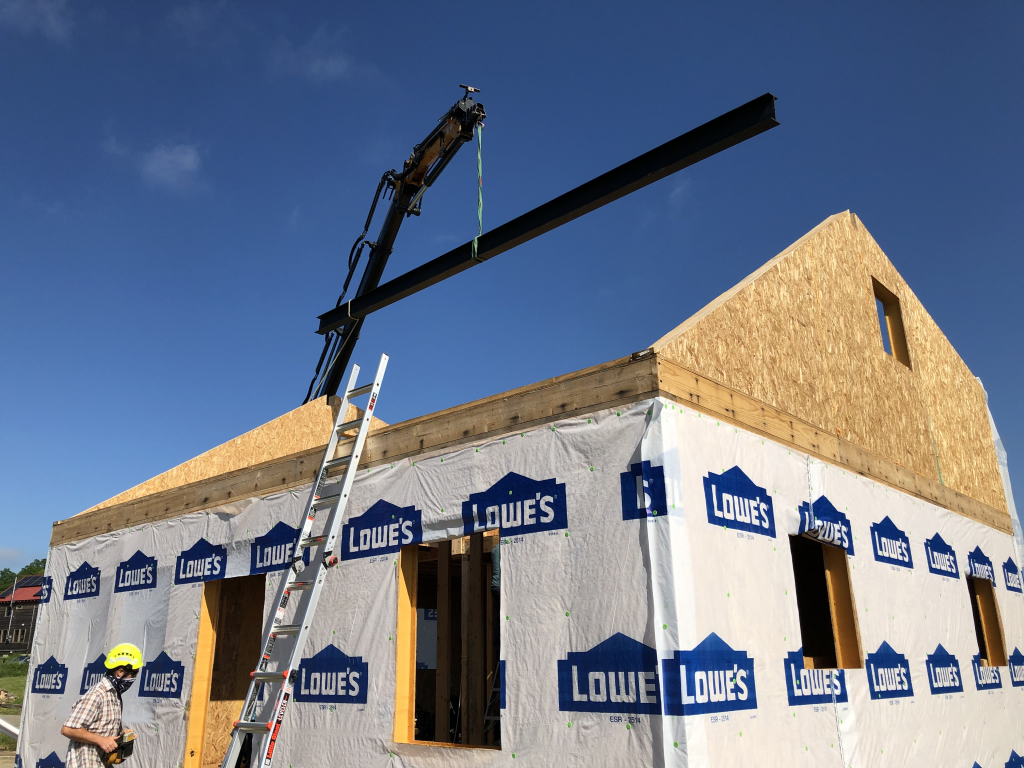
Around the same time, with the second story gable end walls finished, I was able to hire a local crane company to move the roughly 600lb roof ridge beam into place.  Despite being quite an impressive process, I think I got a good deal: the crane service cost less than the beam itself!

2020-06-19 Roof Beam in Air
2020-06-19 Roof Beam in Air, South View
2020-06-19 Roof Beam in Place


Thus, by the end of the month, I began to cut rafters and install them.  These rafters are 2x12x16’s.  Although my load calculations showed 2x10s were entirely sufficient, the extra depth allows for the multiple layers of insulation that are needed to achieve R-50.

2020-06-28 Rafters Going Into Place

P.S. If it seems like I got a lot less done this month than last month, that’s probably true.  I started back at work full time at my lovely new local company GrammaTech, Inc.