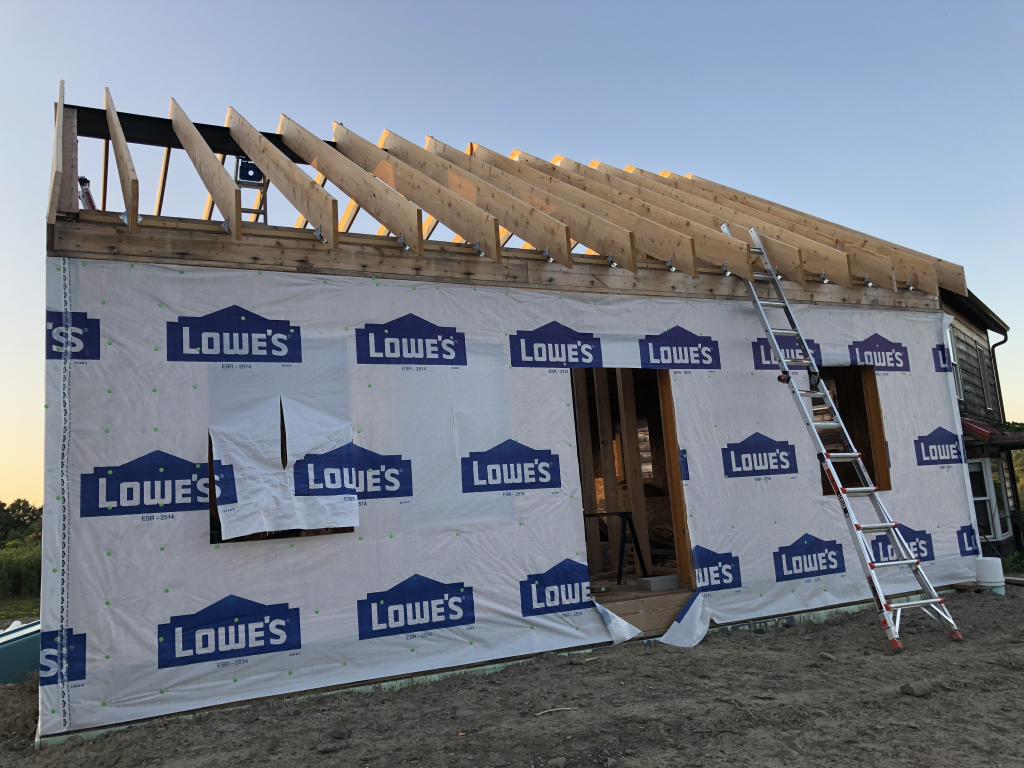
When I was in college, The Nylons were very much in vogue. I am sure it never occurred to me at the time that I might be climbing said ladder for the purpose of building said roof.
Cutting rafters is at lot of science and a small amount of art. I learned the technique many years ago when I was drafted for the job during the construction of our community’s horse “run in” (think of it as half a barn). It involves a lot of work making cuts known as “birdsmouths“; if you were to try to place a rafter without such a cut on top of the beam and top plate, what it would do is simply slide off (and hopefully not fall on anyone). To avoid having the rafters naturally pulling away, they need to be resting on a horizontal surface. The top of the beam and the wall plate are horizontal, and the birdsmouth cut—which looks like it’s at an angle when you’re staring at an uninstalled rafter—aligns with this horizontal surface when the rafter is installed. This is where the old fashioned carpenter’s framing square really shines. If you know the pitch of your roof—typically specified as a ratio in inches or feet, like my 3:12 shallow north side and 8:12 steep south side—you can simply find those number of inches on the two legs of the square and find it lined up exactly at the angle you want.
Making matters slightly more particular, the cuts can’t be more than a certain depth, but have to be a certain width, and various other parameters in order to meet code. As mentioned last month, my oversized 2x12s really only needed to be 2x10s, and allow for a slightly deeper cut.
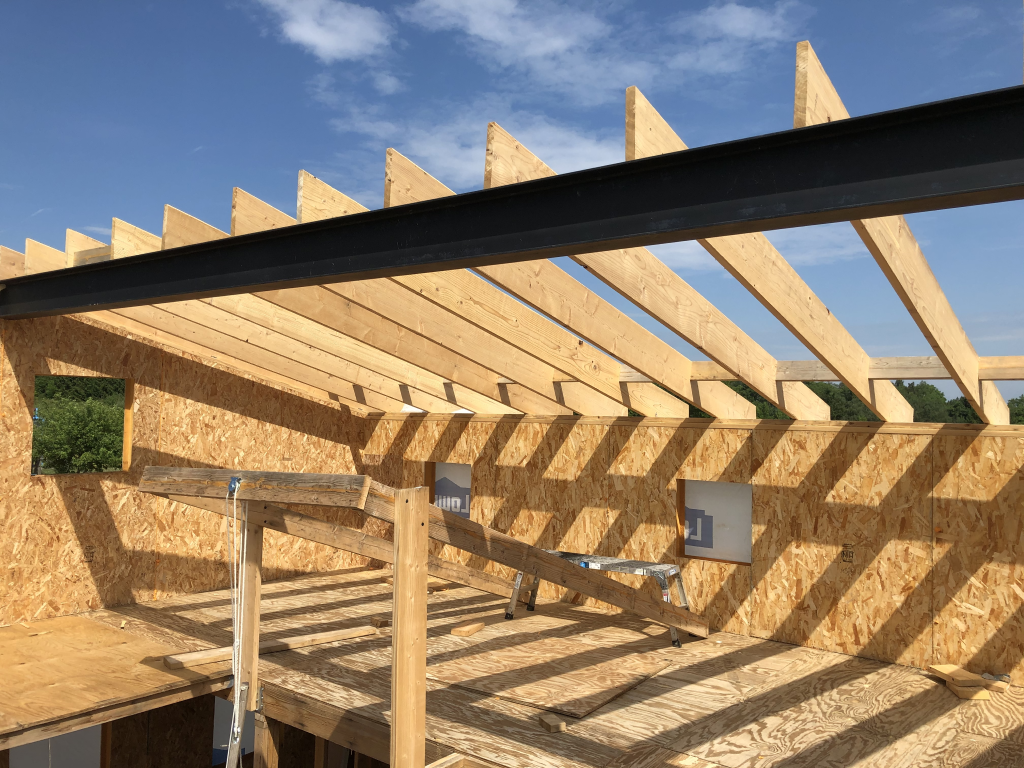
The art comes in to figuring out which portions of the design you can simply repeat over and over for 13 rafters on each side, and which ones need to be carefully measured. Art isn’t my strong suit. I did a lot of measuring, averaging about 1h22m per rafter, for a total of almost 36 hours. Pretty much every rafter went up once for measurement, down again for cutting, and back up again into place. Also, until you get very familiar with it, you’ll probably find yourself turning the framing square around at least once and maybe twice for every single birdsmouth you try to mark.
Oh, and then there were those two outer rafters. These turned out to be quite a chore, because the birdsmouths on the interior rafters caused them to fall slightly lower than the level where the cut SIP edge lay. In the end I wound up having to do long rip cuts to adjust the rafters to match up with a level top surface. Slightly more careful thought about the relation between the SIP cuts, inlet nailers, and beam position would have been helpful here. Oh well, it worked.
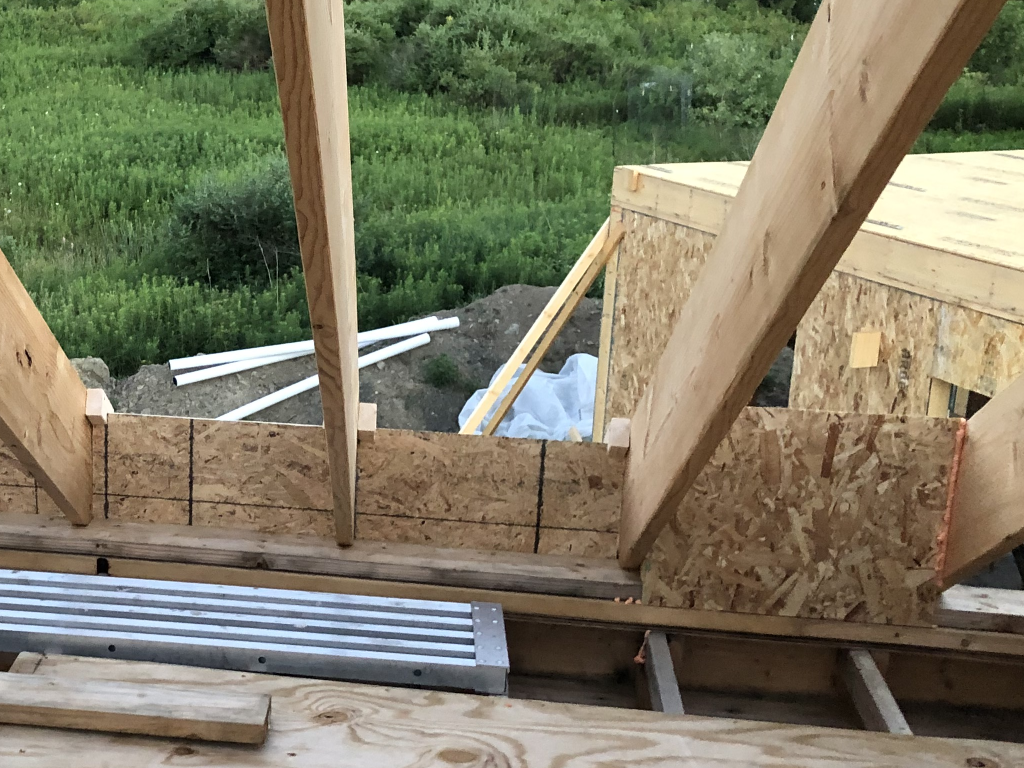
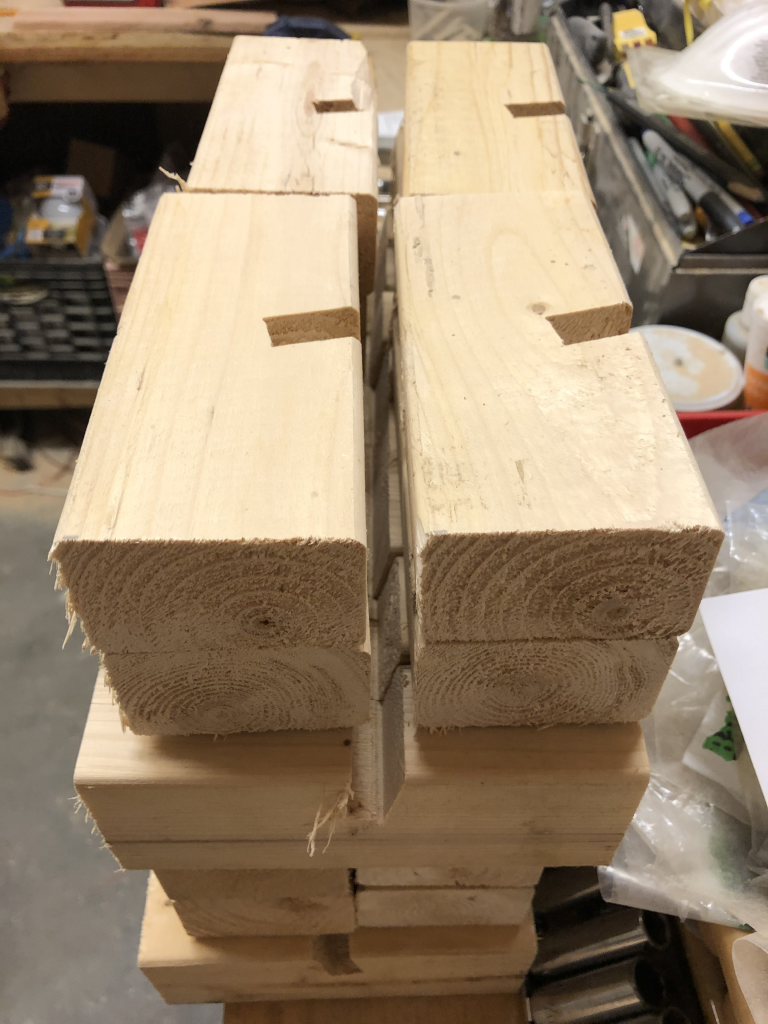
After putting the rafters in place, I started on what would become another of the many facepalm manoeuvres: placing blocking SIPs between the rafters. It seemed like a good idea—in fact, it probably was a good idea—but for the fact that I didn’t think about the need for a gap for the roof ventilation (more on that later). I got about this far before I realized the problem:
The second hand of facepalming was because that each one of those SIP blocks was a lot of work (about 22 hours). Each one needed a carefully miter-cut 2×8 plus a lot of manually cutting foam out of the SIP; because of the angle, it wasn’t possible to use the SIP panel router. That was a big part of the reason I decided to change strategy for the fix, rather than just cutting them down and trying again. The replacement amounted to simply installing OSB panels, and then putting in foam board insulation with spray foam sealing after the fact. However, the top end of these OSB panels had to be solidly anchored since they would be about 1-½” lower than the top of the rafters. I settled on making a lot of small 2×3 blocks with angle cuts to slide around the OSB:

More than that. A lot. 56 in total.
How to make these efficiently is may actually be an interesting aside. I cut the 2x3s down to a more manageable length (4′), and then set up a dado blade to make a cut of the right width to match the OSB (a little wider, so I wouldn’t have to deal with it binding). But the dado blade had to be angled to match (or more accurately reverse) the angle of the rafters to meet the vertical OSB sheets. Once again, the carpenter’s square (small version) comes to the rescue:
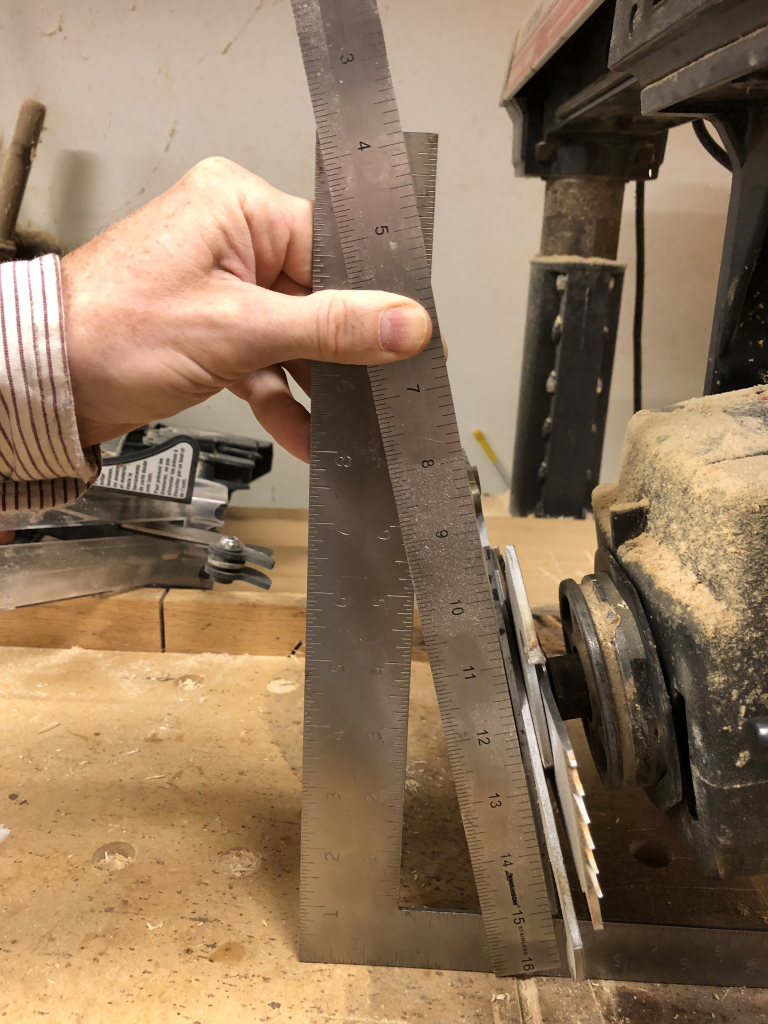
Just a word of caution: I had to take the blade guard off to swap the standard blade on the radial arm saw for the dado blade, and to set the angle. Do what you need to be safe here. Unplug the saw if you have to. Put the blade guard back before you plug it back in. Never stand in line with the blade when cutting. You know the drill… er, the old saws… yeah.
So here’s what the old and new solutions look like side-by-side as I was pulling one out and replacing it with the other.