Jun 2020: Paper and Cranes

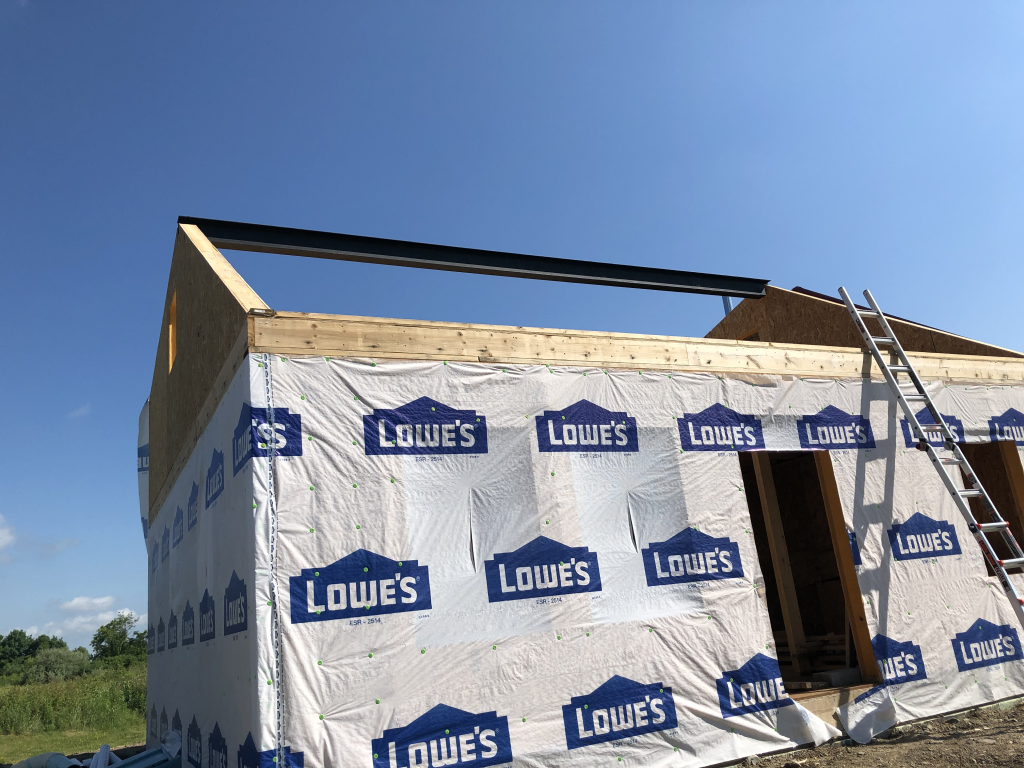
By early June, the SIPs were in place and I began to cover the house in “house wrap”.  This is a breathable material (often Tyvek) that is used to keep water from saturating the walls, while still allowing trapped water vapor to escape.  It’s part of a complex system for making the house weatherproof.  I wanted to get it up sooner rather than later to keep the sun and rain off the outer surface of the SIPs.
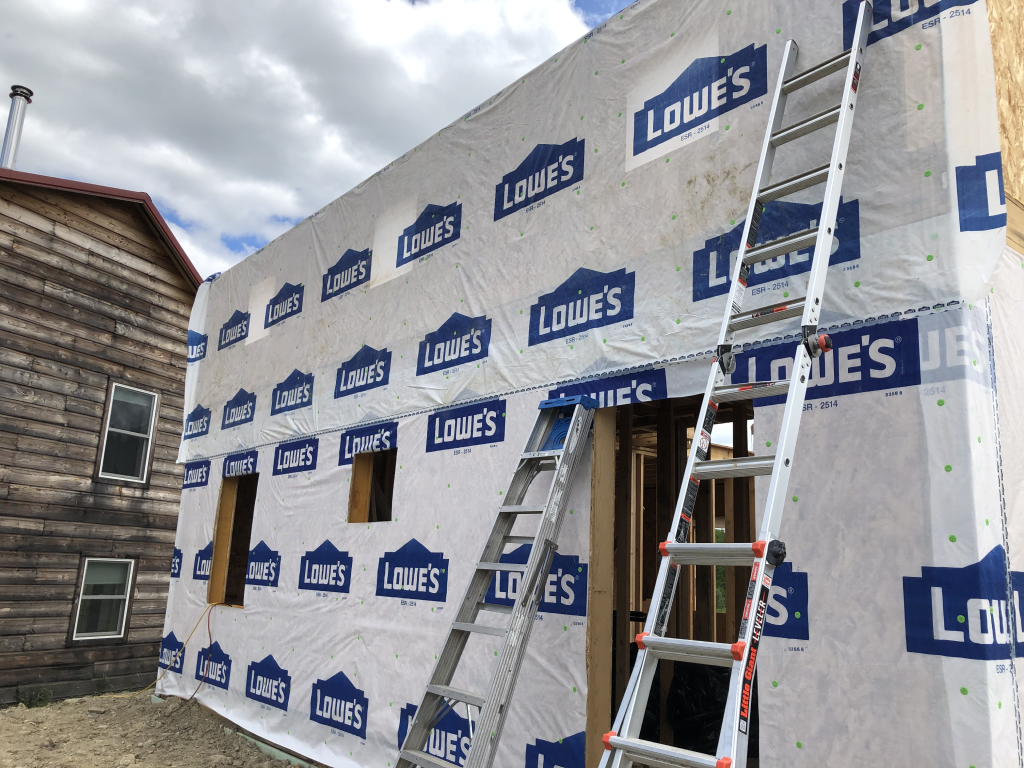
2020-06-14 House Wrap Going Up


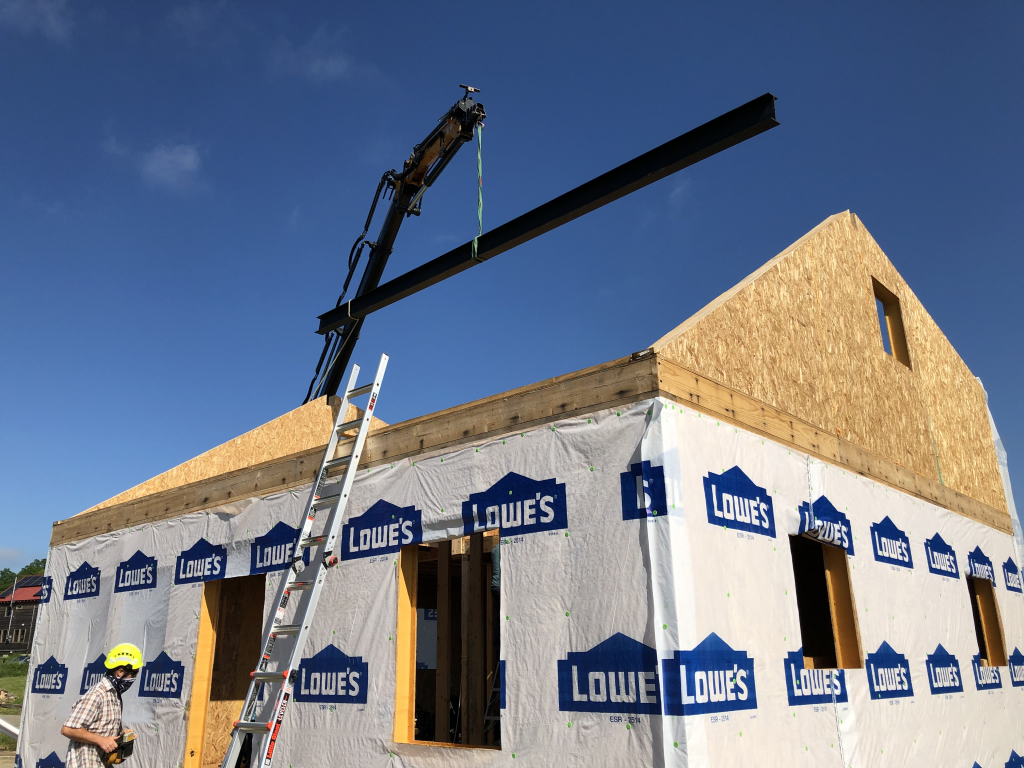
Around the same time, with the second story gable end walls finished, I was able to hire a local crane company to move the roughly 600lb roof ridge beam into place.  Despite being quite an impressive process, I think I got a good deal: the crane service cost less than the beam itself!
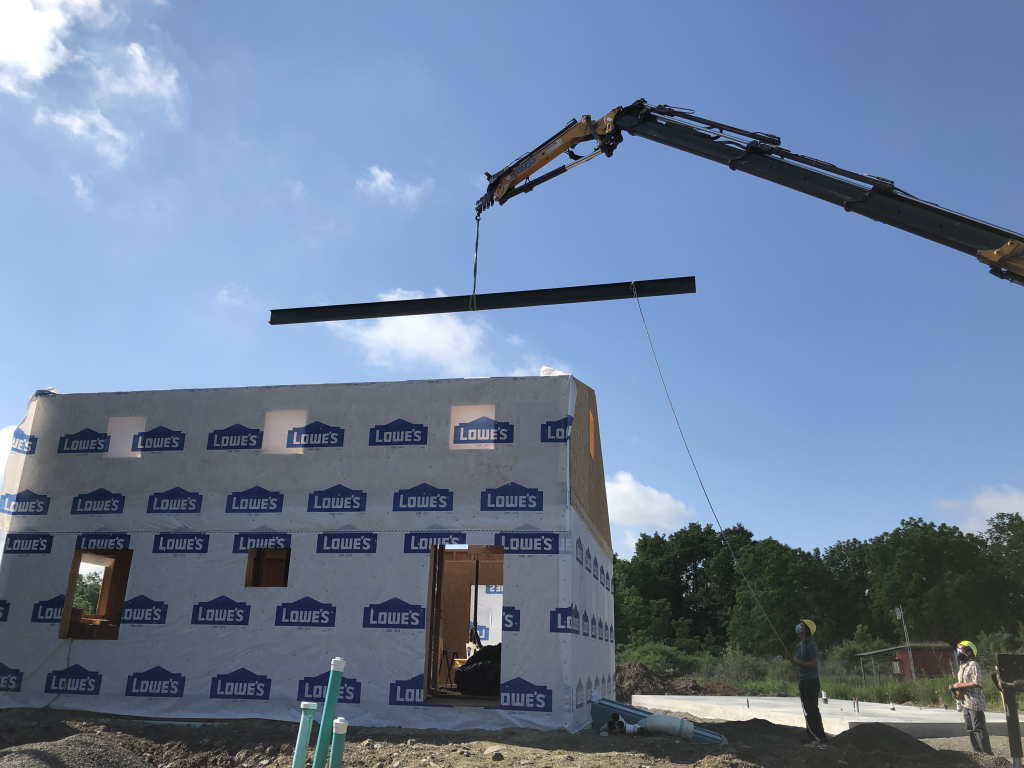
2020-06-19 Roof Beam in Air
2020-06-19 Roof Beam in Air, South View
2020-06-19 Roof Beam in Place


Thus, by the end of the month, I began to cut rafters and install them.  These rafters are 2x12x16’s.  Although my load calculations showed 2x10s were entirely sufficient, the extra depth allows for the multiple layers of insulation that are needed to achieve R-50.
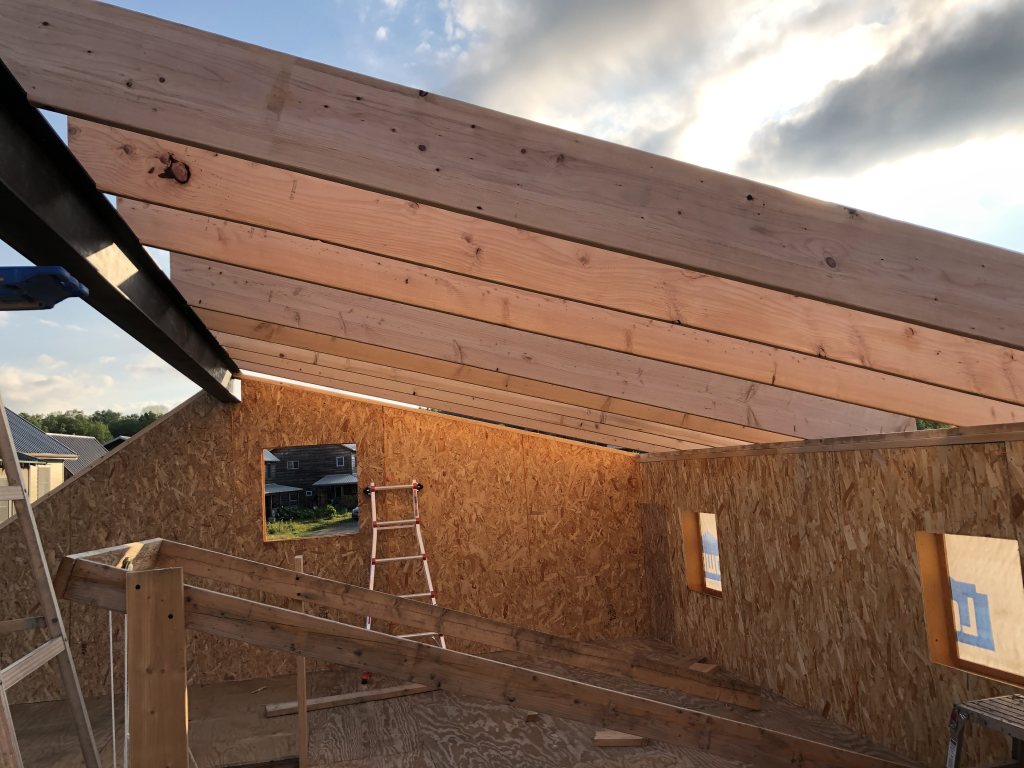
2020-06-28 Rafters Going Into Place

P.S. If it seems like I got a lot less done this month than last month, that’s probably true.  I started back at work full time at my lovely new local company GrammaTech, Inc.
Telling Another Story

I finished the first floor SIPs on May 5.  After that, I needed to put up joists to support the second story, and the second story flooring, where a little help from the family sped things up immensely.  By May 21, I was beginning to get the bottom inlet nailers for the SIPs in place.

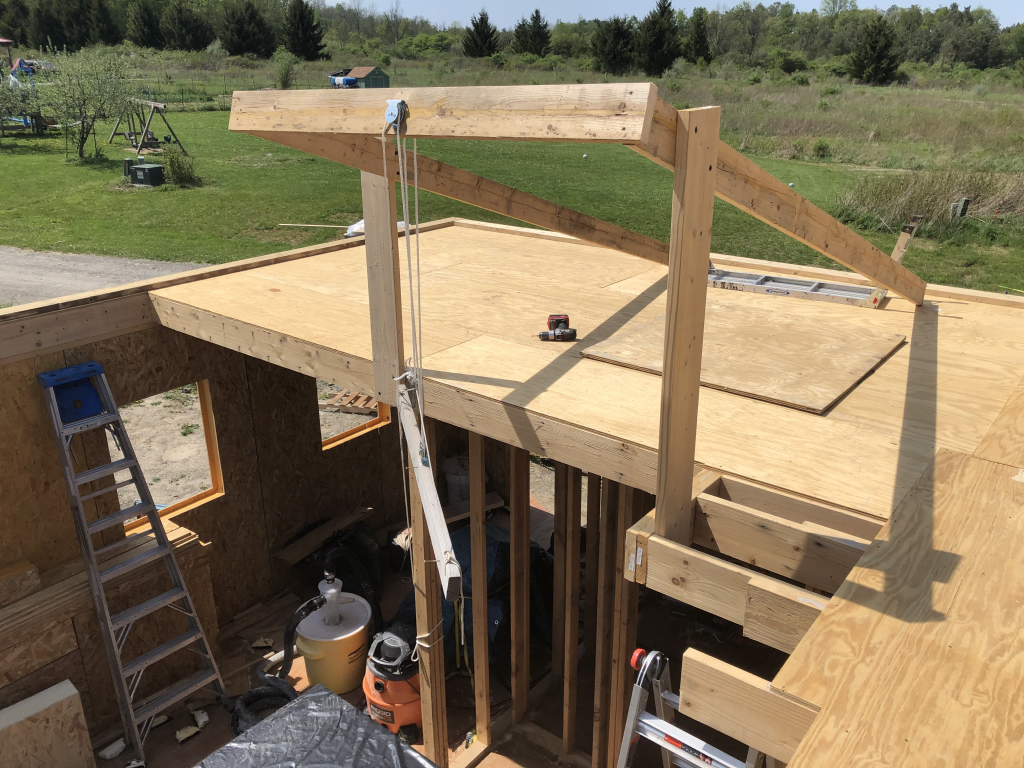
Getting the SIPs up to the second story was another matter, because even though none of them were full 4×8 panels, they still weighed a lot more than a sheet of plywood.  So I built a weird temporary block-and-tackle rigid “crane” that let me hoist panels up to where I could slide them into place.

Temporary crane
May 25, 15:01: Temporary crane for 2nd floor SIPs

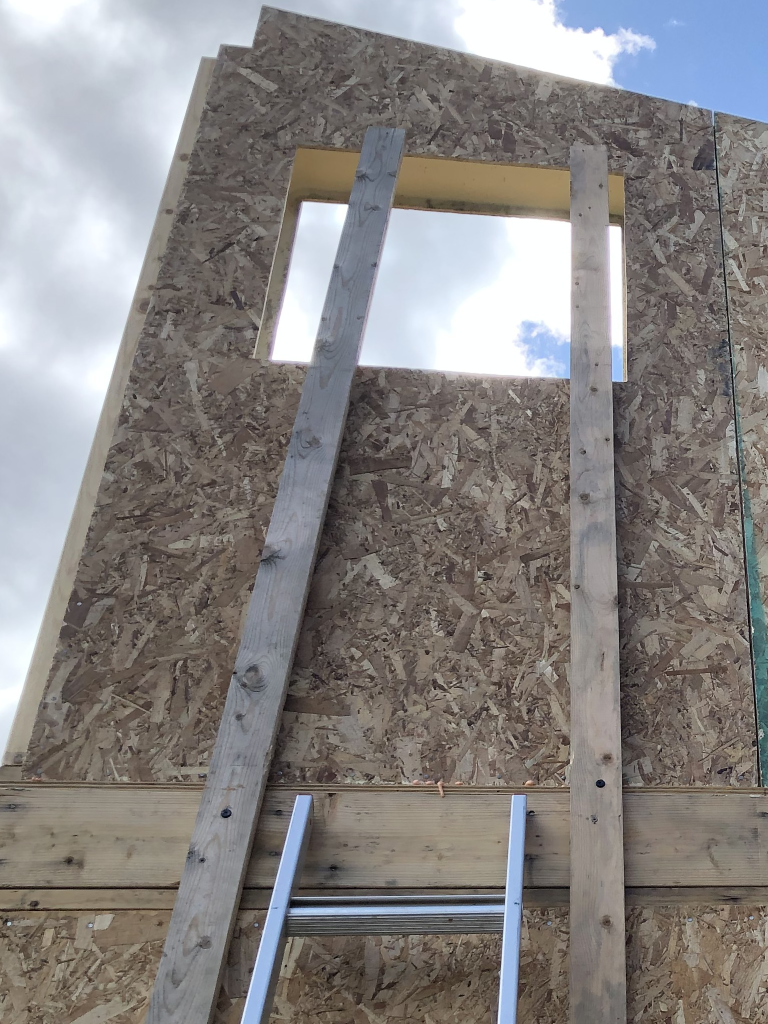
After this it was reasonably straightforward to cut and route the second floor SIPs, hoist them up, and put them into place.  One extra precaution involved temporarily attaching 16′ 2x4s onto the outside of the structure so that when the sip was raised, it couldn’t accidentally fall over the edge.

Use of boards to prevent SIP falling
May 31, 15:24: 2x4s placed to keep SIP from falling


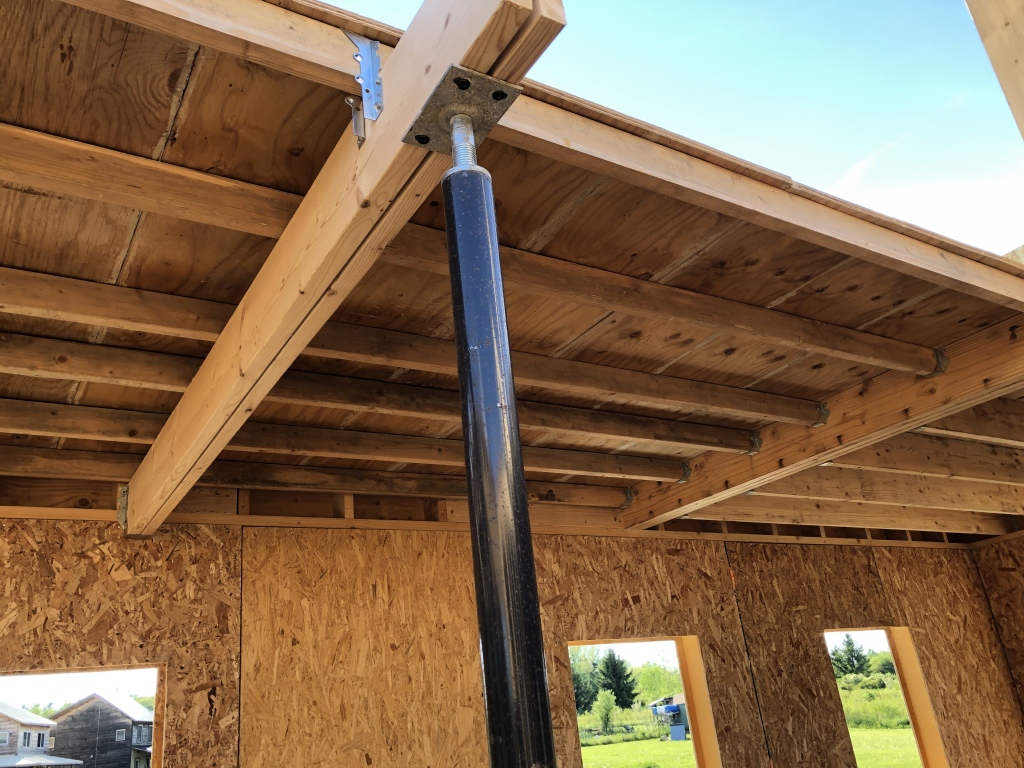
The SIPs on the south end of the west wall, however, were more difficult since there was no floor in this area, which is intended to have a “cathedral ceiling.”  To make working on this side easier, on Jun 1 I built a “temporary” floor that was hung from the south wall and the triple joist supporting the kitchen ceiling.  Although it was made from smaller members (I had a lot of leftover long 2×4’s from the first attempt at the first floor) I added some extra support to make sure it was sturdy enough.

Temporary second floor
Jun 1, 17:59: Temporary second floor, bottom view

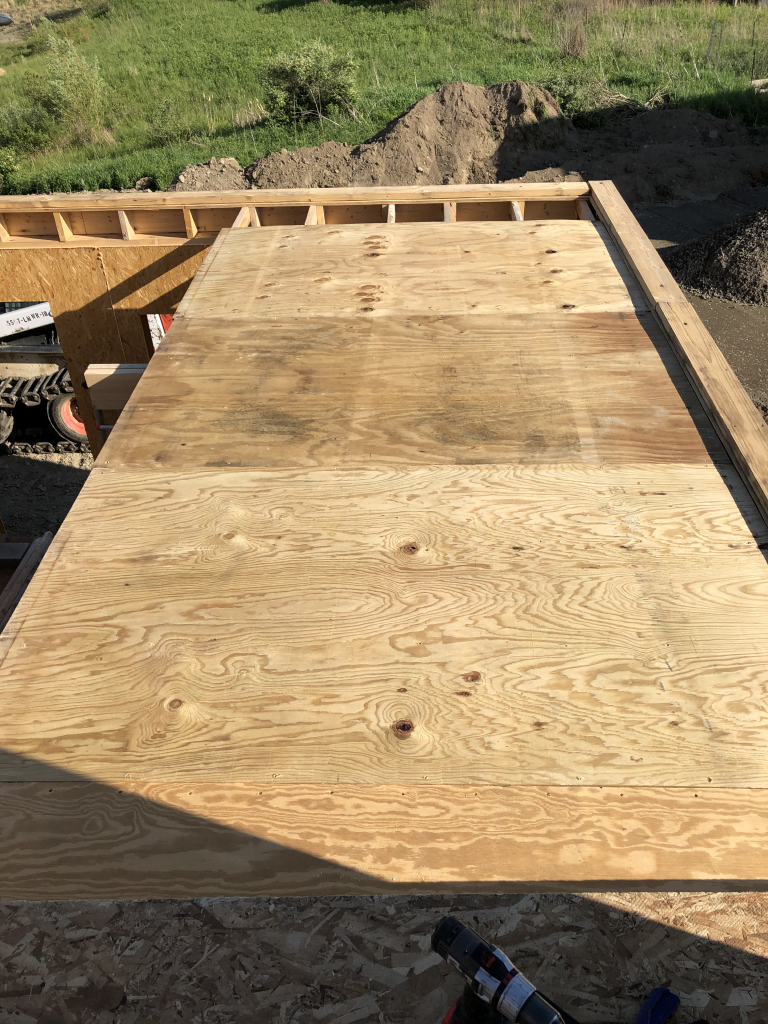
The top surface was made from leftover plywood from the original first floor as well.

Temporary second floor
Jun 1, 17:56: Temporary second floor, top view

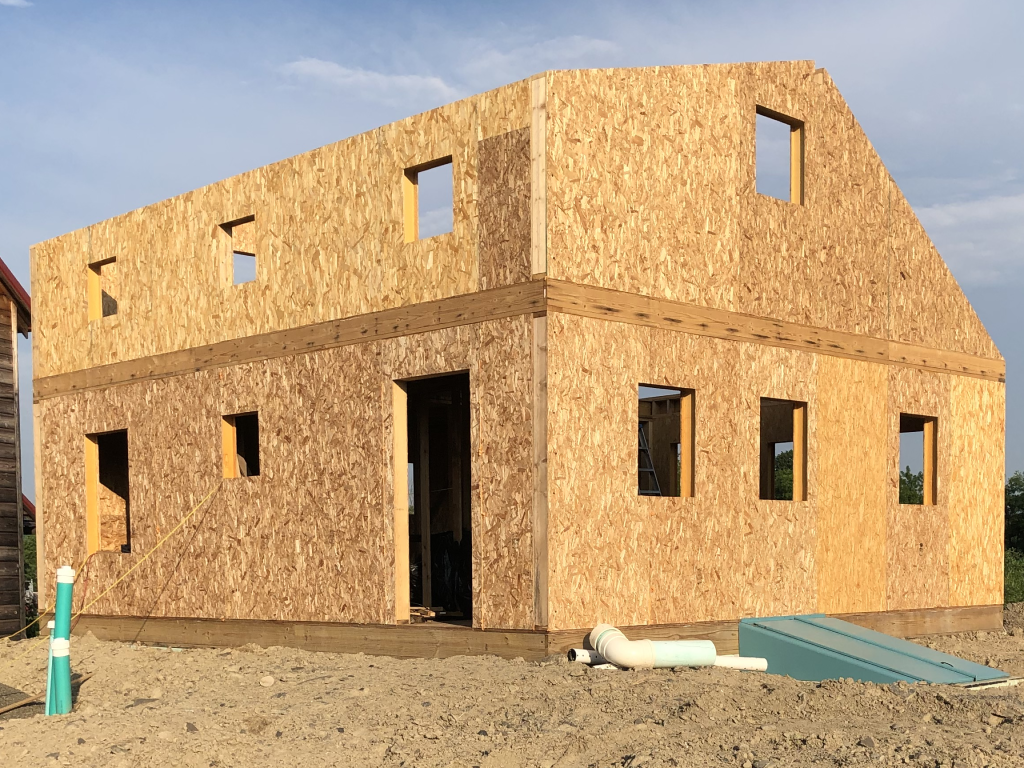
This made it straightforward to lift, move, and place the remaining SIPs.  On Jun 5, with just one weekend to go before I started my new full-time day job, the SIPs were finished.

Finished SIPs
Jun 10, 18:58: Finished SIPs!