In August I started putting up the roof decking. To get the rather heavy OSB sheets up to the second story by myself, I relocated my block-and-tackle that I had been using for the SIPs onto the top of the rafters.
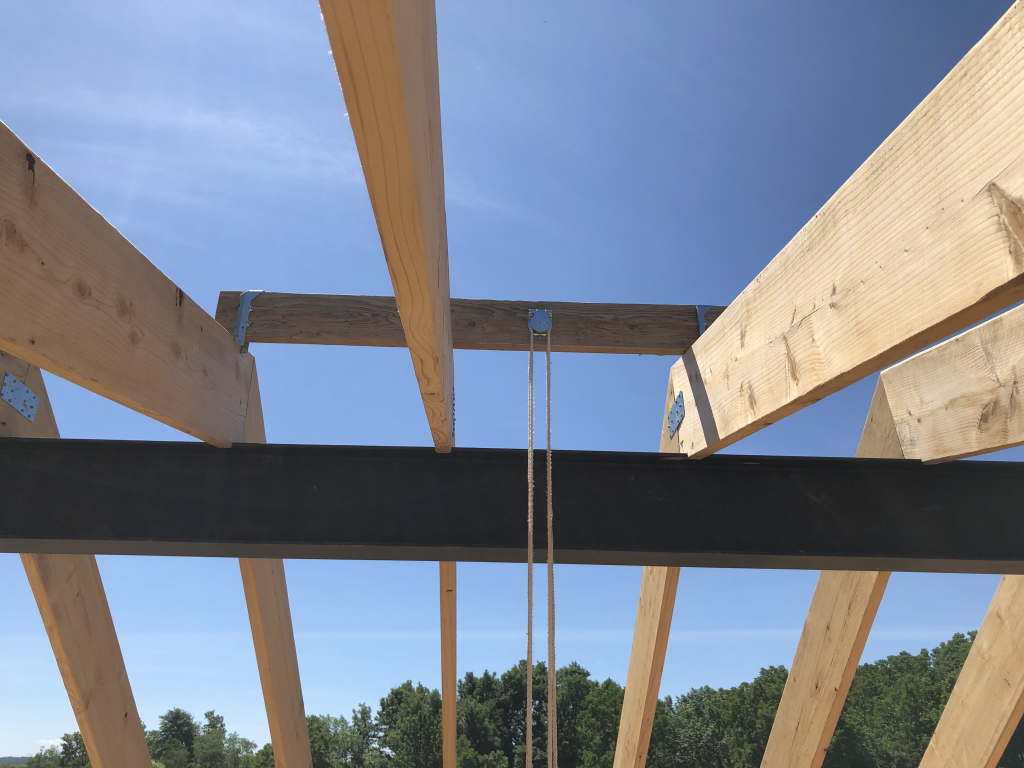
I started hauling material up and began placing the first few sheets on the shallower north side. I found that even with the 3:12 slope, I needed to attach ropes to the pieces to ensure they didn’t simply slide off. I got my first sheet up on Aug 2, but being up there that close to a ~15 foot drop was pretty nerve-racking. Back on Jul 15 I had ordered quite a bit of safety equipment from the aptly named Knot and Rope Supply… but there was a long COVID delay. I kept gradually putting up sheets on the less-steep-north side with jury-rigged safety equipment.
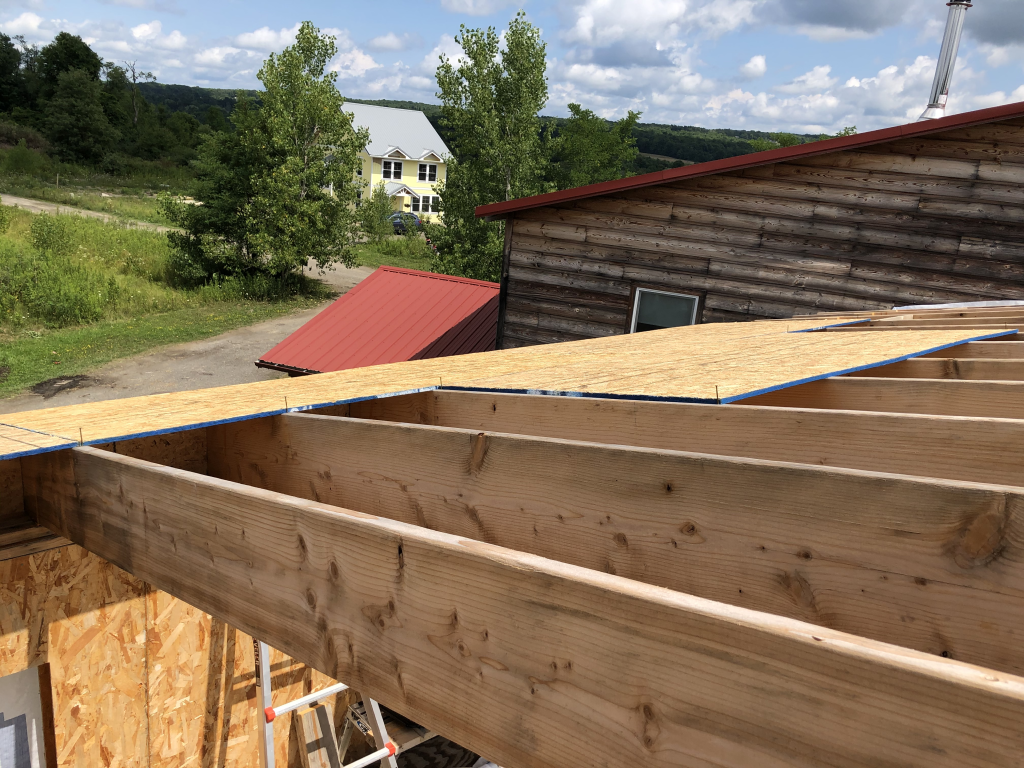
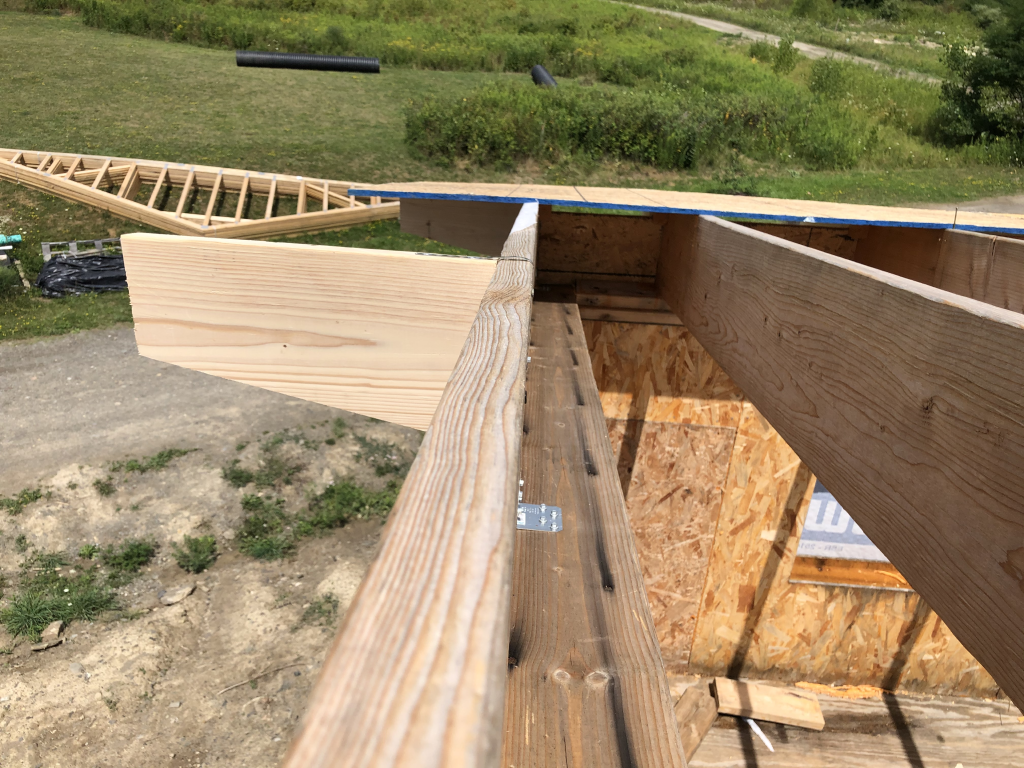
One of the things worth noting is that roof decking needs some gaps to allow for expansion, to prevent buckling. The OSB is actually slightly undersized to account for this. The gaps are supposed to be about 1/8″ on all sides, which happens to be almost exactly the diameter of an 8d (eight penny) common nail. If you look closely enough at the image above you can see the nails that were driven in at various places to ensure this space. The other thing that I had to do in some places was to push the rafters into alignment – 16′ long boards aren’t perfectly flat, and everything is easier if the spacing is more uniform. You can see the long clamp in the photo below being used to push two rafters apart.
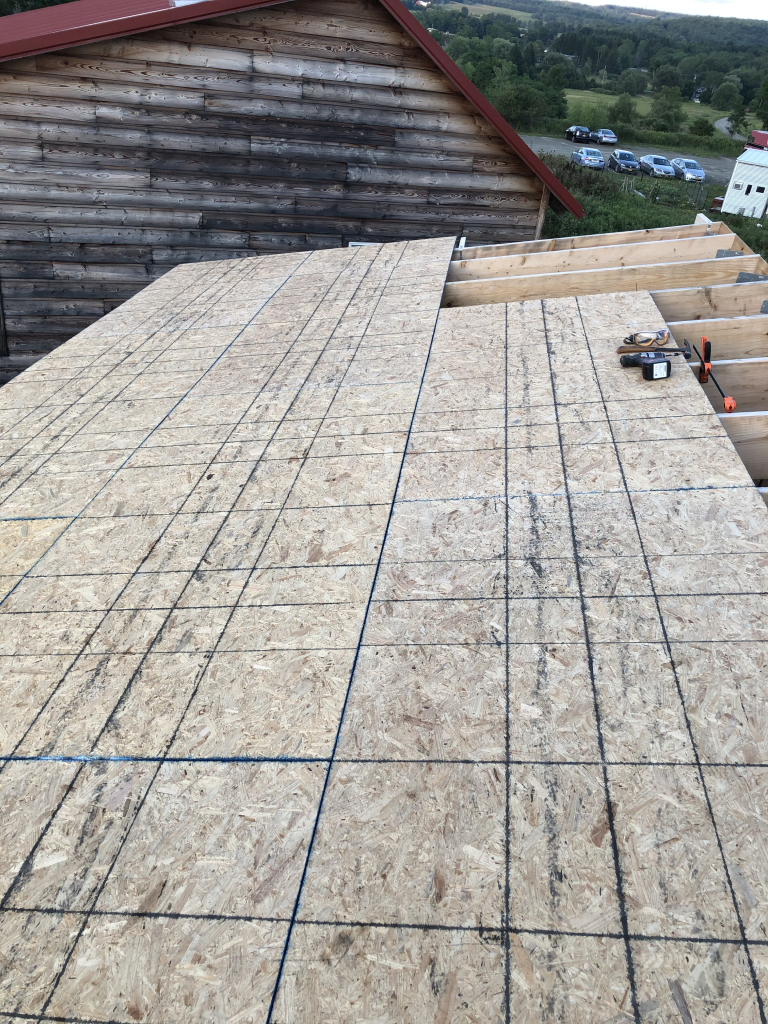
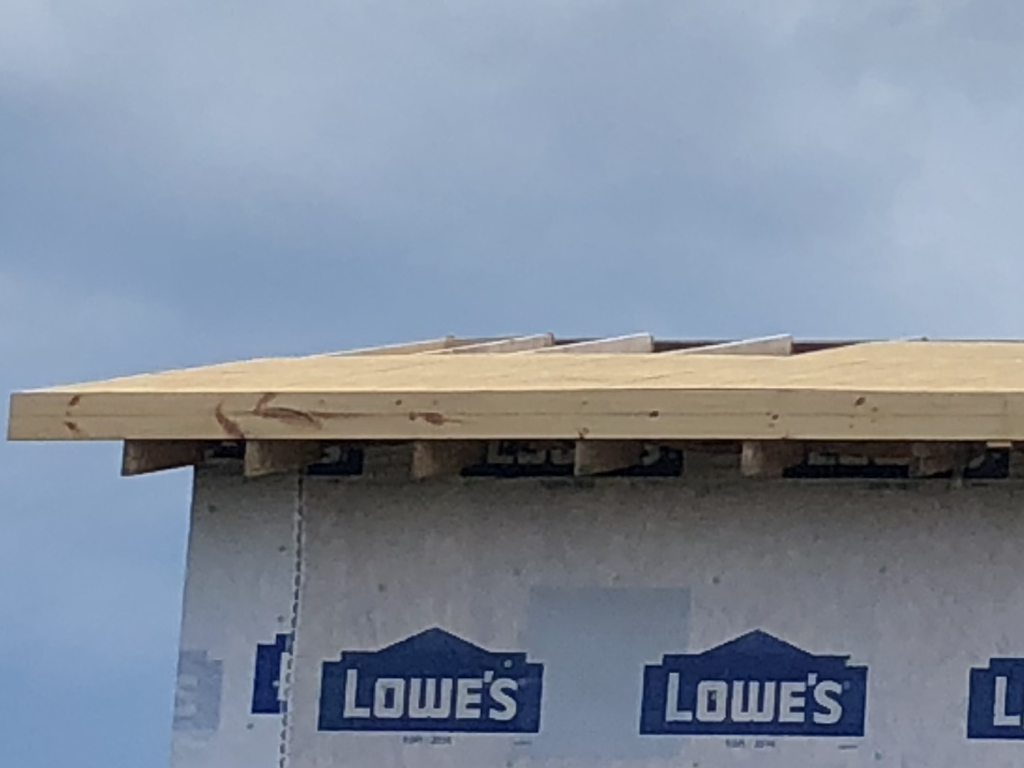
Still, before I spent too much time up on the roof, and particularly on the steep south side, I wanted that safety gear. During the delay I worked on some slightly less treacherous things. I also had to add extra gable end rafters so that the roof would extend another foot and a half on each side to form a drip edge. Again, lots of safety ropes, because I was trying to hold 2x6x16’s essentially in mid-air while they were screwed into place. Sorry I don’t have a video, I’m sure it was quite a sight. Below you can see a few of the blocks that attach the gable end rafter to the final on-wall rafter. (Also, entertainingly, you can see on the ground in the background the kind of roof trusses that are used for most of the homes here—did I mention that another house is going up adjacent to this one?—if you want to build a roof the “easy way.”)
I worked on finishing the house wrap on the gable ends. I also put up some of the fascia, which I could do on a ladder from below.
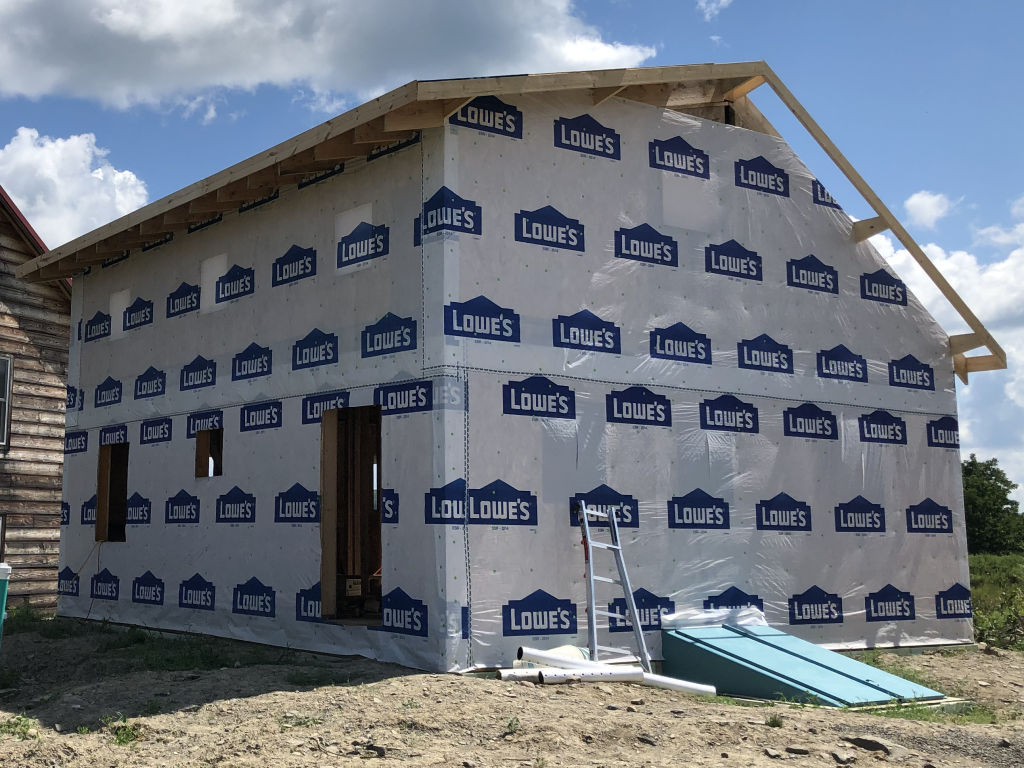
The safety equipment finally arrived on Aug 14, and by Aug 23 I had the south side fully decked.
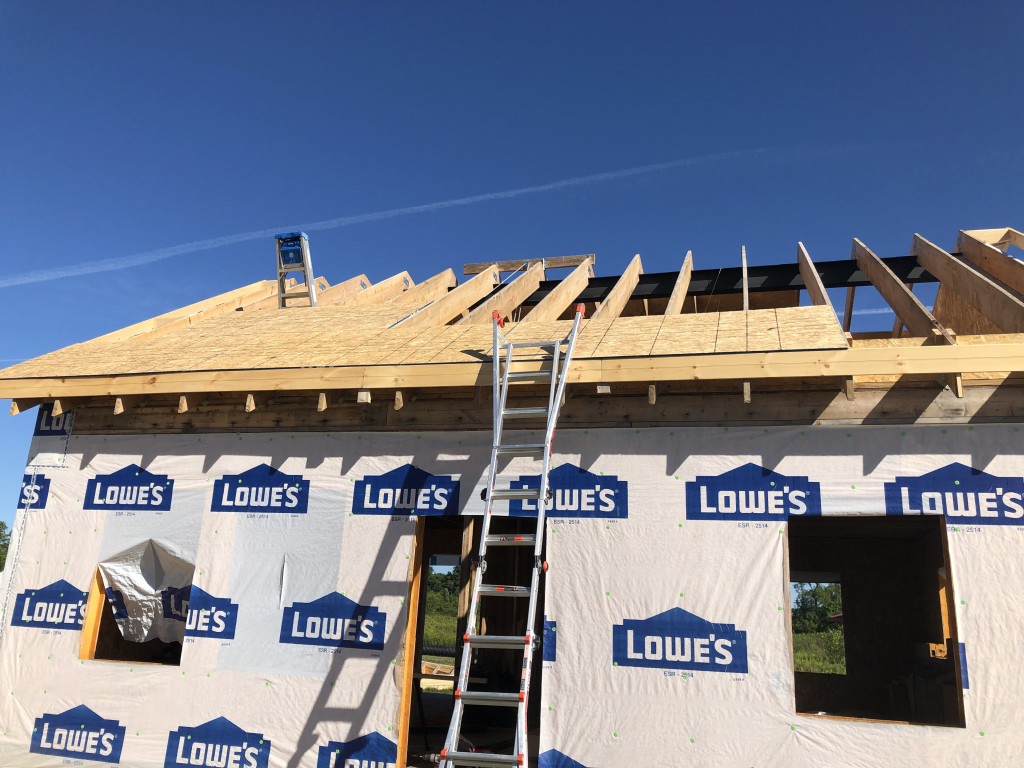
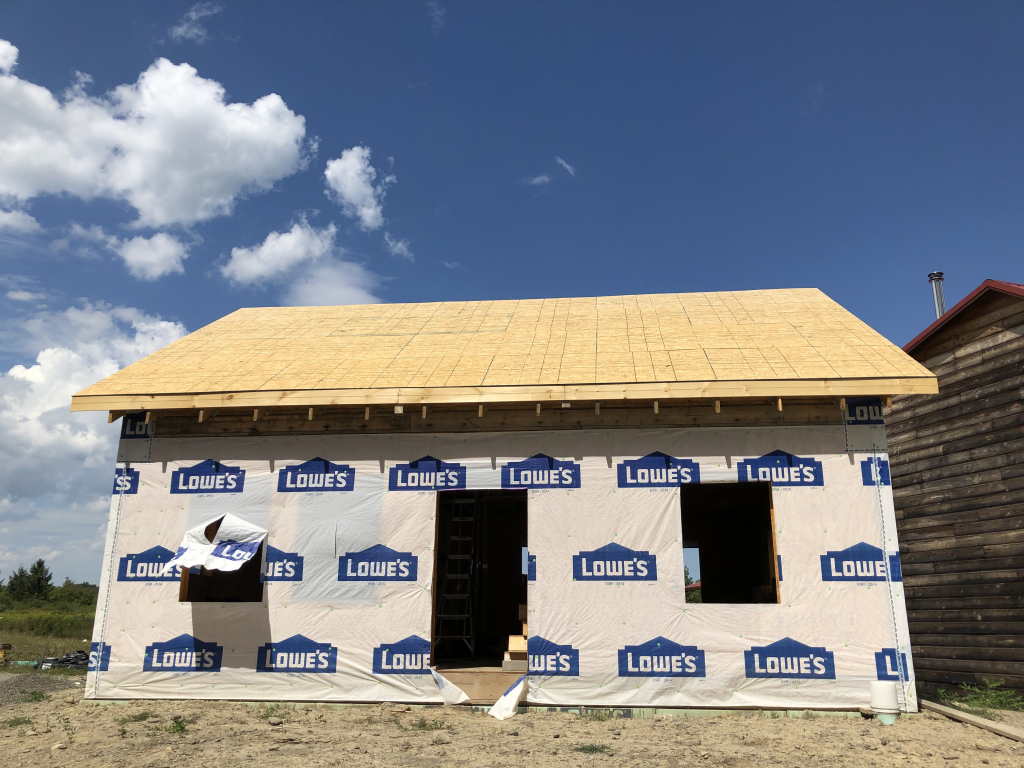
I then went back and finished the north side except for one panel which I left off so that I would have a way to access the roof for further work laying down underlayment or “roofing felt.”
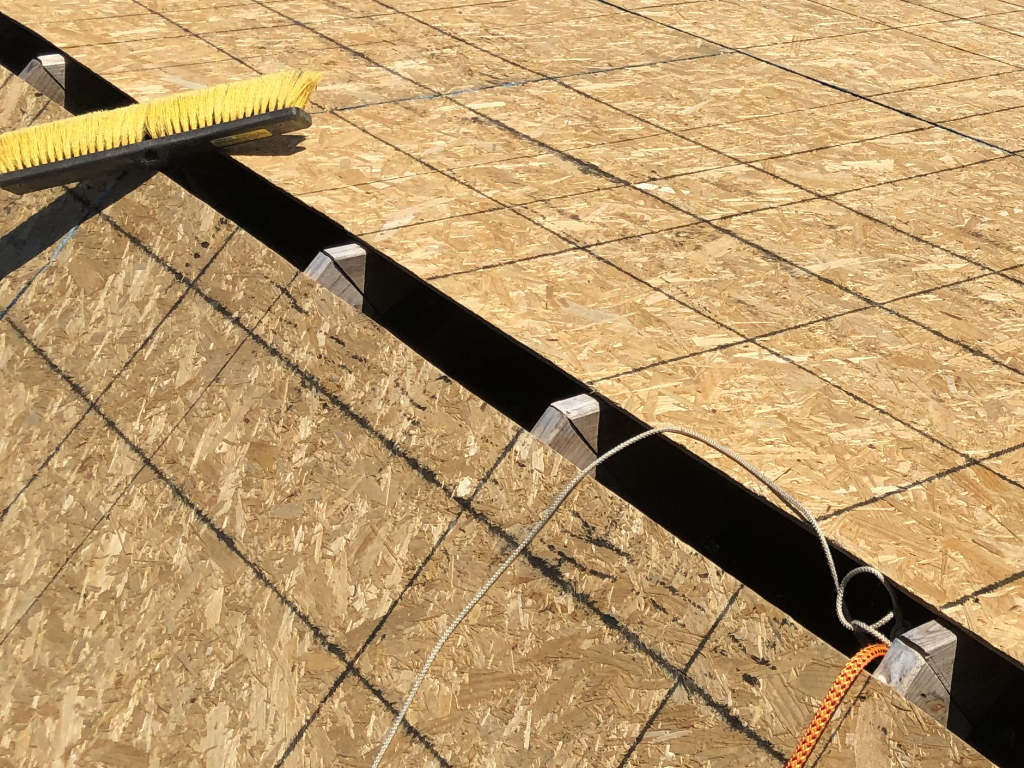
One thing that isn’t really visible in any of these contemporary photos is the roughtly 4″ gap at the top of the roof which remains to allow air to circulate under the decking. I’ll elaborate more on that later, but here’s a cheater photo (taken in Sep.) to show the gap. At the top left you can see a push broom for scale; at the bottom right you can see the top end of the mountain-climbing/safety rope which is tied to the I-beam below.
