
For the last couple of weeks it has been “damn the winter weather, full speed ahead!” And somewhat to my surprise, I managed to get the floor panels I designed (and wrote about here) completed. Apparently after repeated exposures, my hands finally got used to working in 37°F (2.8°C) weather, and I didn’t feel cold any longer. My ears were protected by 3M™ WorkTunes™ headphones, which may have been the single best tool investment I have yet made on this project. Certainly the most consistently utilized, particularly with Spotify keeping my ears happy and not merely warm.
A big ($3000) order of materials was delivered in late October, and I immediately started trying to get the flooring in place. Zephyr was intrigued.
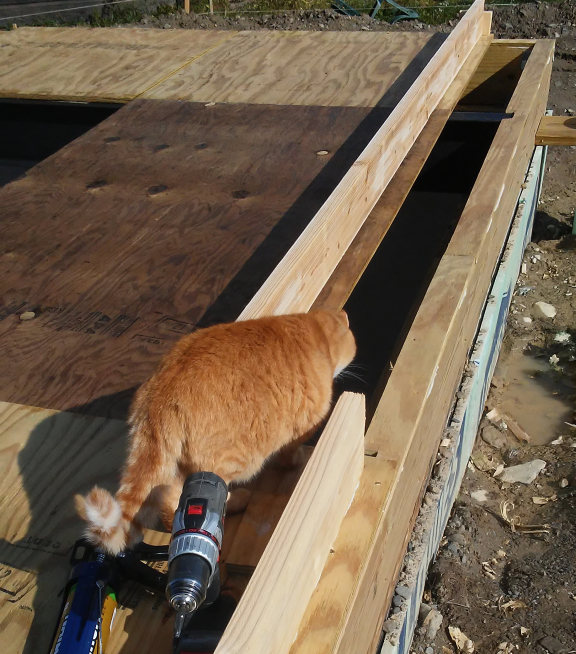
At first things went pretty quickly.
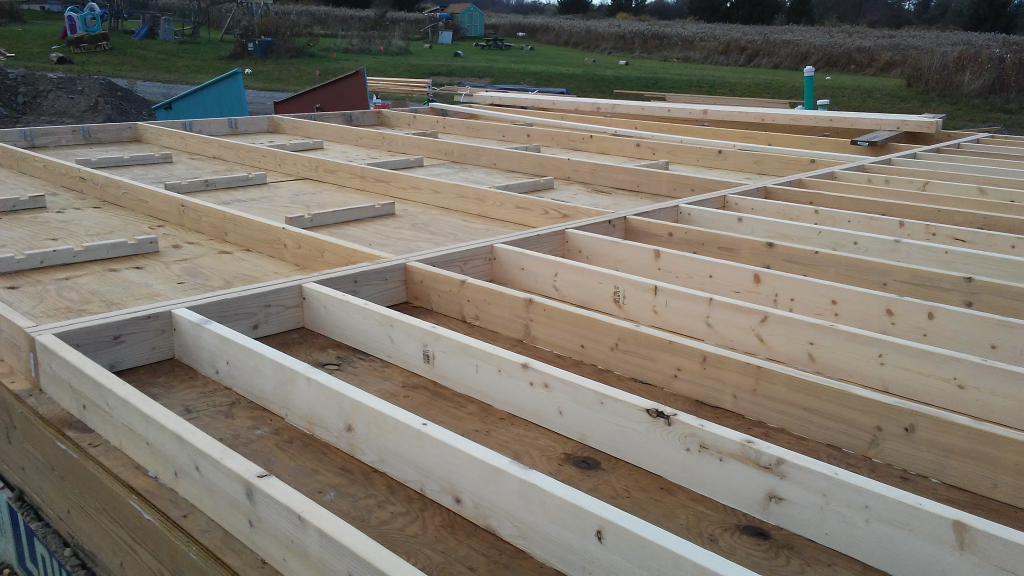
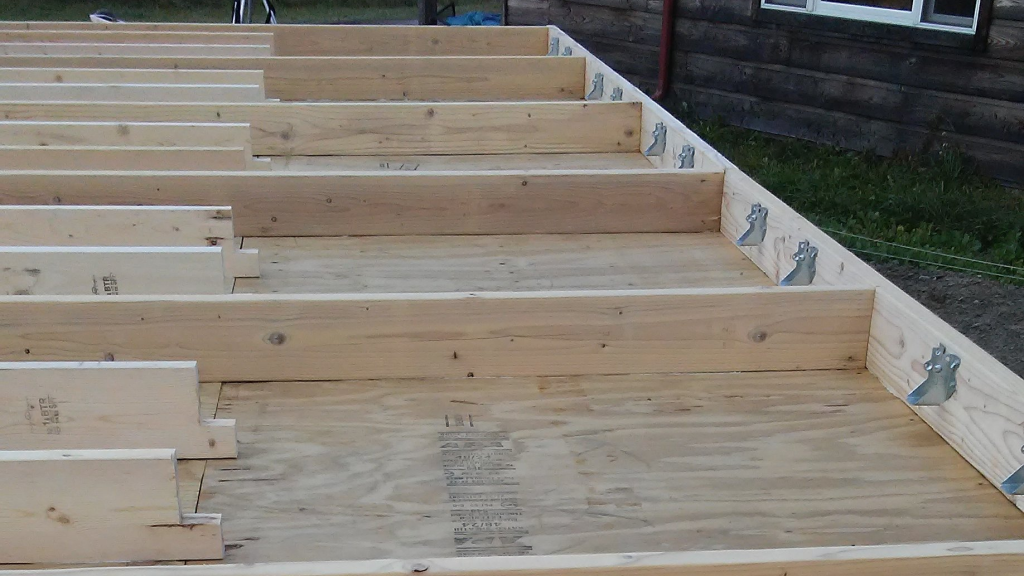
 However, my birthday party happened just a day or two into getting the materials, so it was almost November before I really got going. Below you can see the bracing ready for the 2x4s to come in above the PIR foam board, and the 2×6’s used for every third span (west side) and for all of the 7′ spans (east side).
Here is some of the PIR foam board in place, 2×4’s across the top and on the braces, spray foamed along edges of PIR, as well as the first batt of rockwool.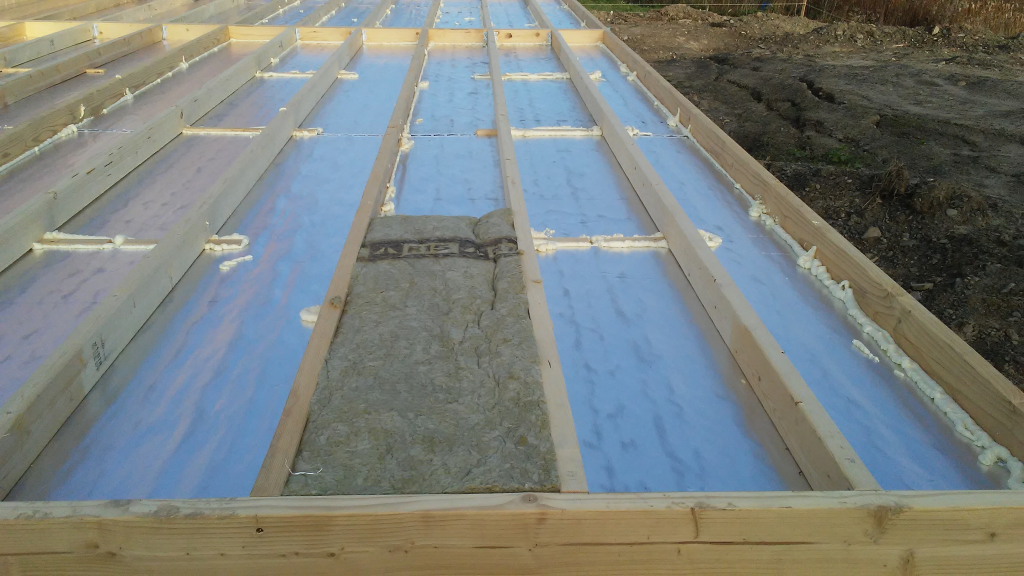
And finally here is what it looks like with all the rockwool in place.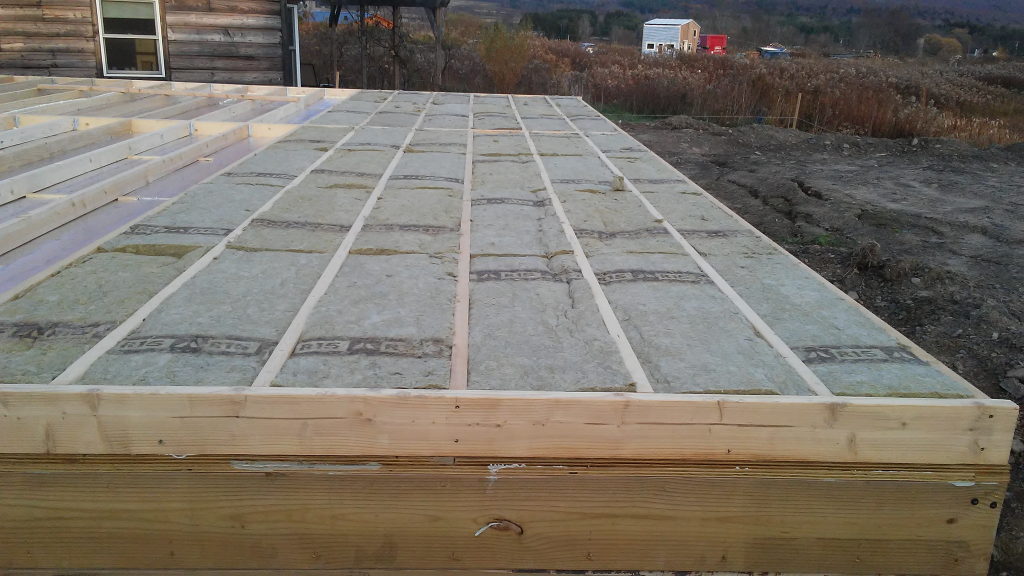
Then I started to get the actual subfloor laid on top. Unfortunately, not very long into this we had our first 4″ snowfall, and thereafter I was spending a lot of time with the shop-vac removing the snow and water that was stuck inside various cavities (either on top of the PIR board, or on the PT plywood bottom layer where the PIR board was not yet laid). Furthermore, laying the tongue-and-groove subflooring with the appropriate staggered (and thus, diagonal) pattern turned out to be extremely time consuming.
It’s probably worth sharing that the necessary tools for this are one (or more) sacrificial 2×4’s and a sledgehammer. You lay the 2×4 against the edge of the subfloor plywood (best if it’s the groove side) and whack the crap out of it to get the plywood to move across the glue and into place. I shattered one 2×4 along the way and beat another one beyond the point of further usefulness. Also, on occasion, you may want wood shims (used to force the tongue up into the groove) or a wonderbar weighted down with a heavy piece of PT lumber (used to force the groove plywood down onto the tongue). Or, you could do this with more than one person, in which case, you get someone to stand on the edge to keep it aligned while you whack the 2×4. This is definitely one of those “better done with a team” jobs.
But, in the end, I managed to get it all in place. I still want to come back and add the house-wrap to the remaining 2/3 of the floor, to keep water out over the winter, but at least the main job is now complete!

Was it worth it to do all that extra complex framing for the 10% improvement in insulation? I’m not sure – maybe not. I’m estimating that adds up to maybe 85 BTU/hr or 25W of heating saved, whereas the remaining total loss through the floor is perhaps 875 BTU/hr or 256W. The R-41 SIPs would have been closer to 553 BTU/hr for a savings of 94W. (All these numbers may be lower if the equilibrium temperature in the basement is higher.) But I learned a lot of interesting things along the way.
I am so impressed. My dad did things like this, and I suppose I do more than most women would even think of doing; but this is just so major, and you’re doing it so perfectly.