Flying Nails and Falling SIPs

Yesterday was another great weather day and a day of good progress.  However, it also came with some unpleasant surprises – hopefully of the “that which does not break your leg, makes you stronger” variety.

First was the nail that I hit wrong, which instead of going into the wood, somehow bounced off the wood, the hammer, or whatever, and socked me right in the front incisor.  It certainly reinforced the reason that I’m wearing safety glasses even when I’m not cutting things.  It was a bit of a shock, but no long term harm done as far as I can tell.

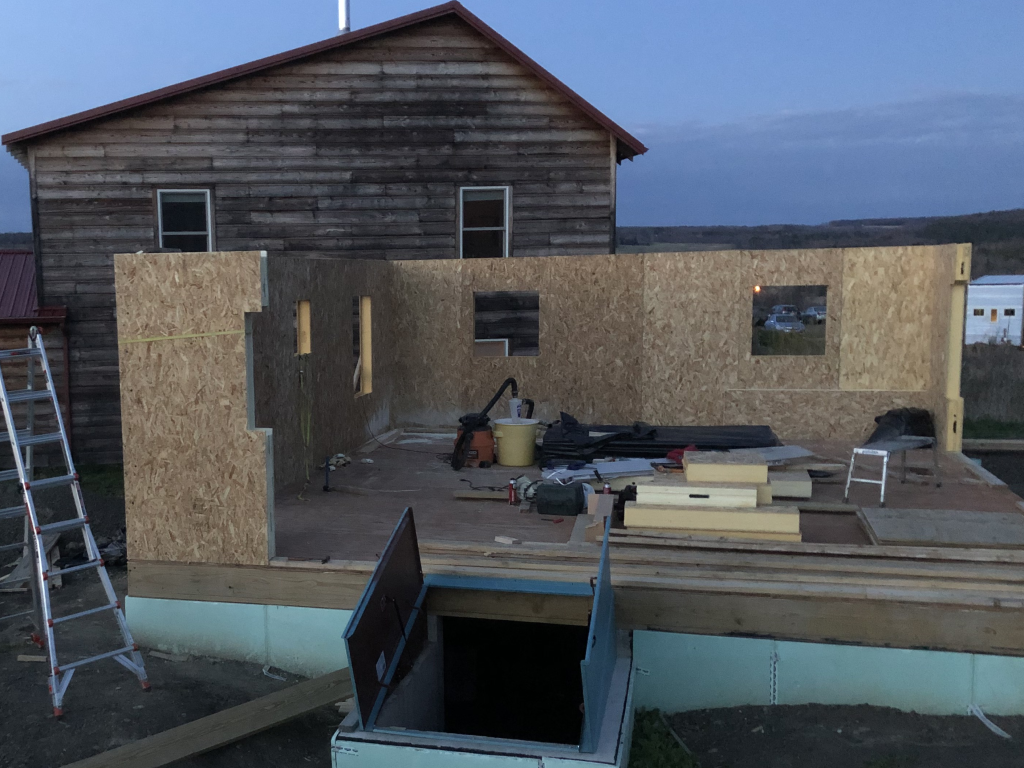
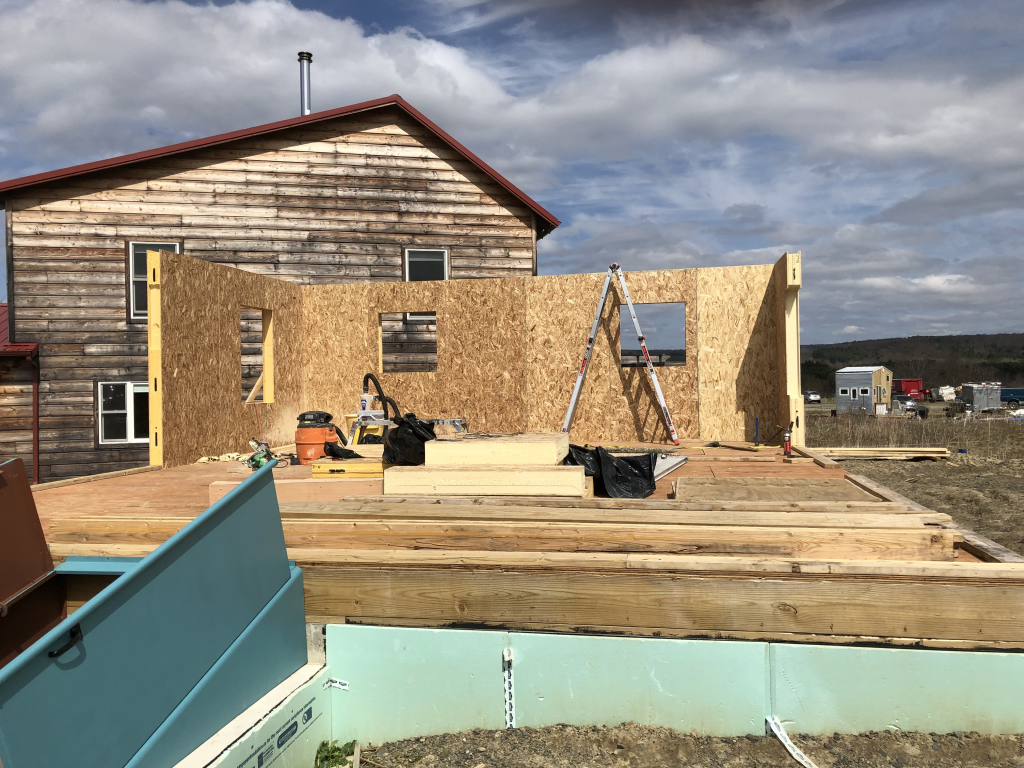
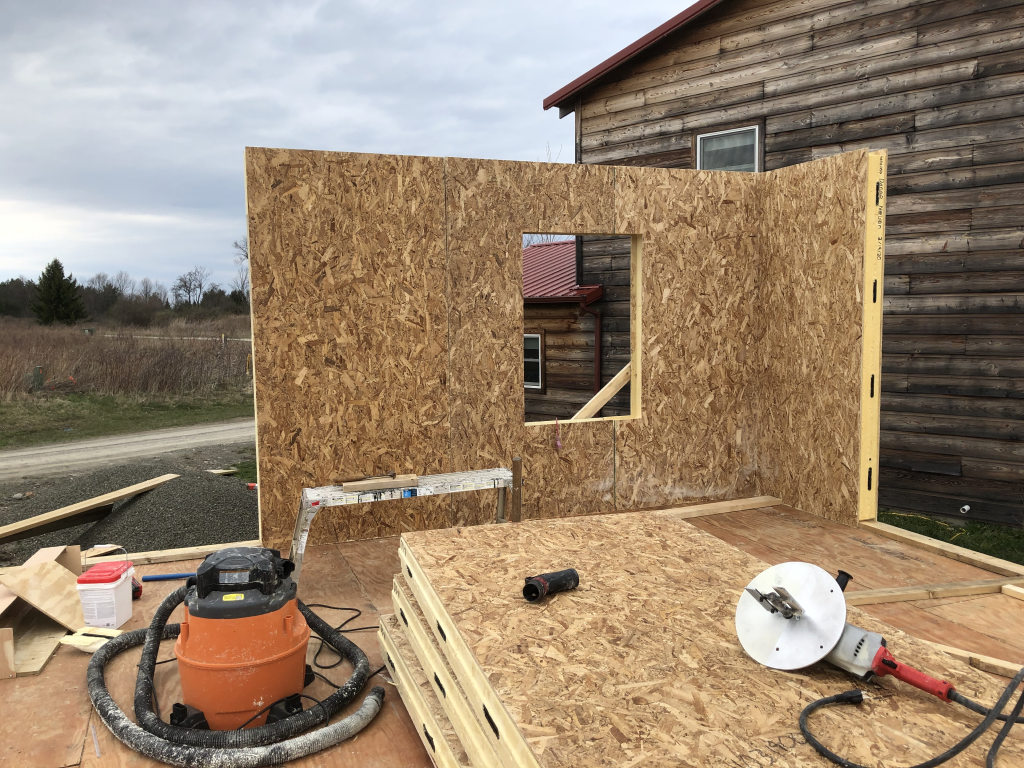
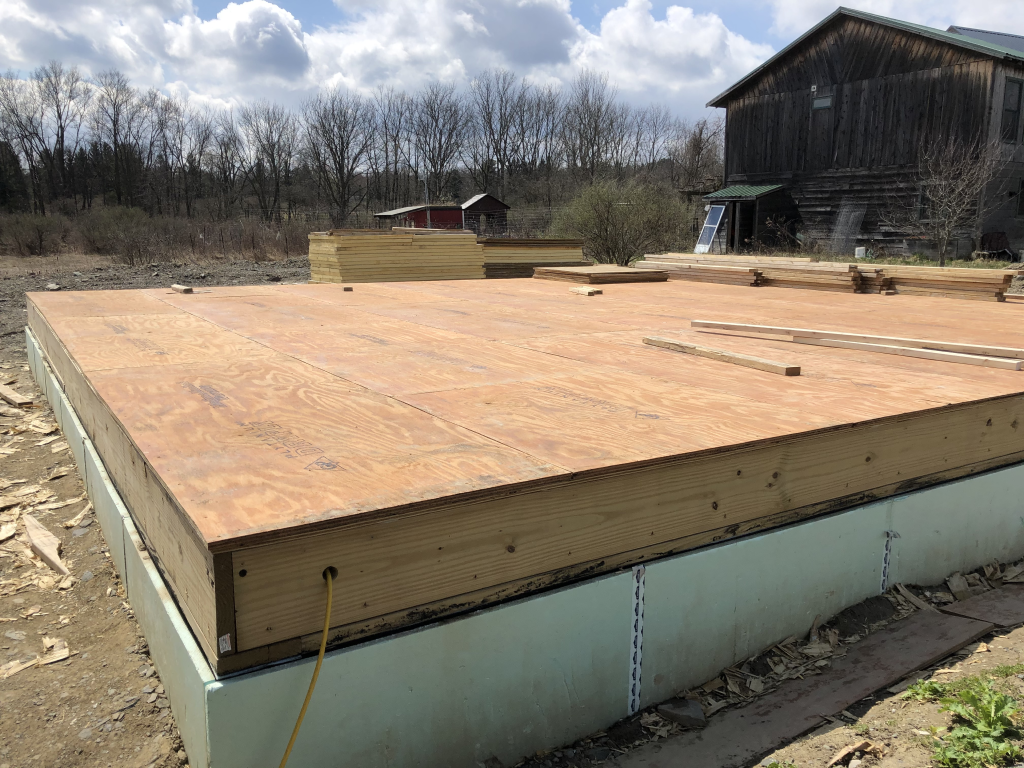
By the early evening I had completed the north wall, which brought me up to 13½ SIPs, because the last section involved simply ripping a SIP up the middle to fill the remaining 22 inches.  The house also now has a front doorway, albeit lacking an actual door at this point.

Apr 28, 17:30: 13-1/2 SIPs

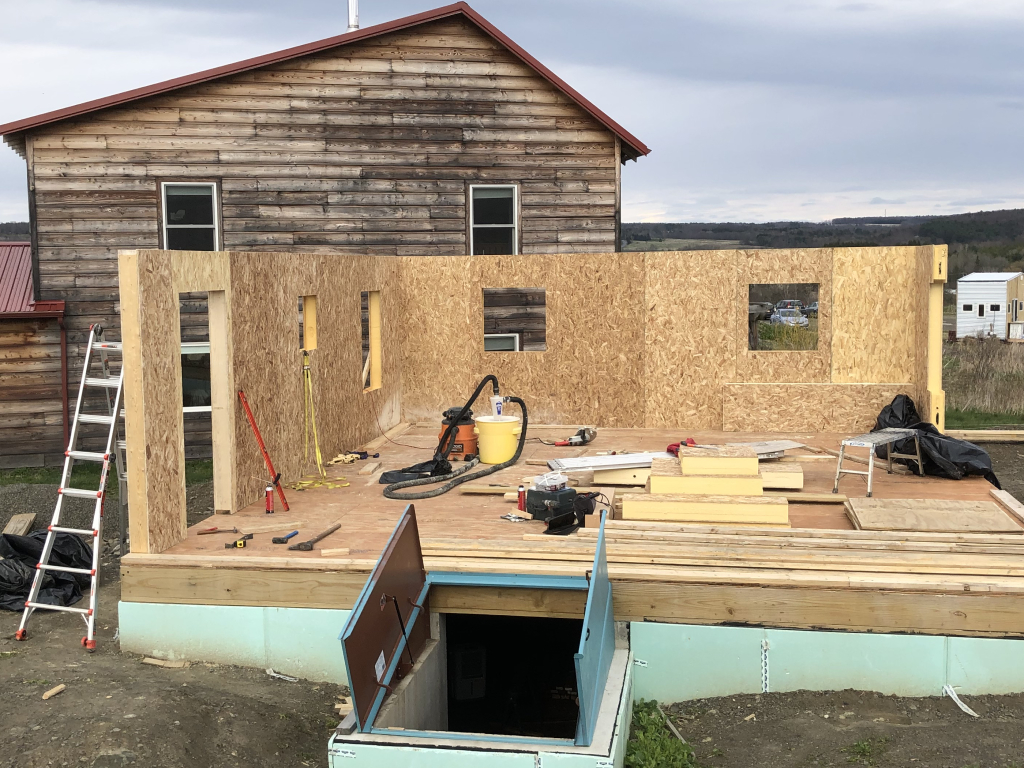
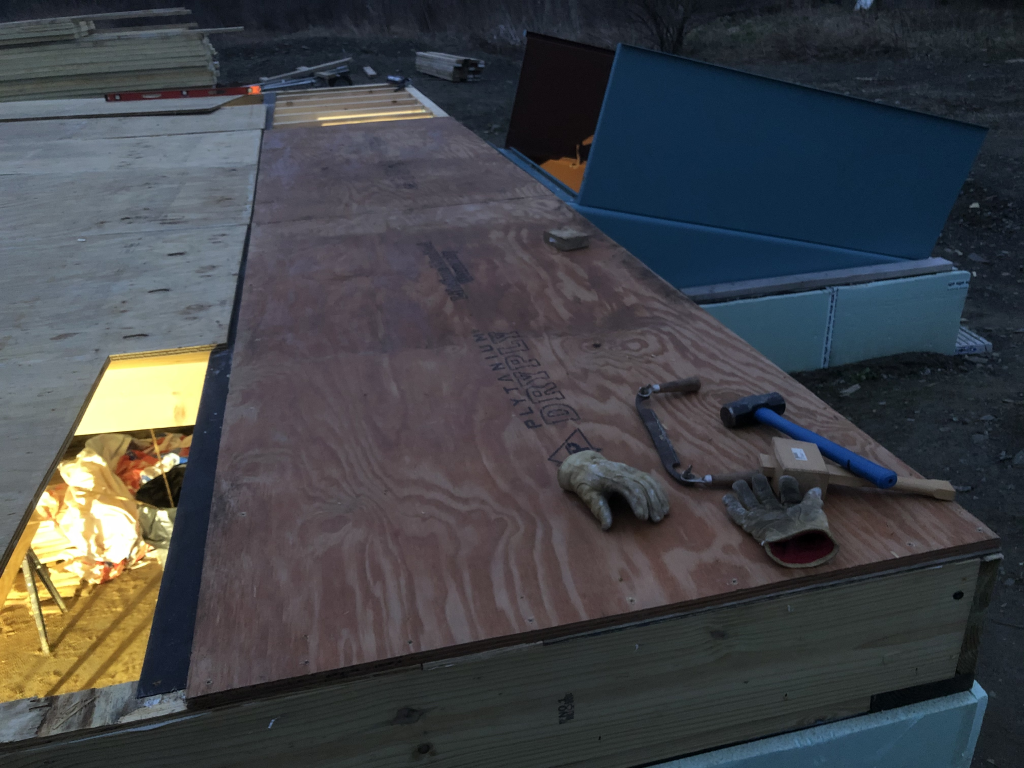
Thereafter, I began work on the first SIP of the west (kitchen) wall, and was struggling to get this done before nightfall.  As you can sort of see in the photo above, this SIP needed to come outside of the north wall to the west, but flush with the wall to the north.  That made putting it in place quite a bit trickier than anything else I’ve done to date.

Long story short, when I thought I had it nearly in place, I managed to drop it on myself – probably not all 137 pounds, because the other end was still resting on the floor, but it knocked me over and landed on my leg.  This hurt.  I was interested to discover that I did not (as far as I can recall) swear loudly or yelp in pain.  Those reactions seem more tied to things going wrong, like the sixth nail in a row flying off instead of going in, or to more precise blows (like the hammer blow to my middle finger, heh…)

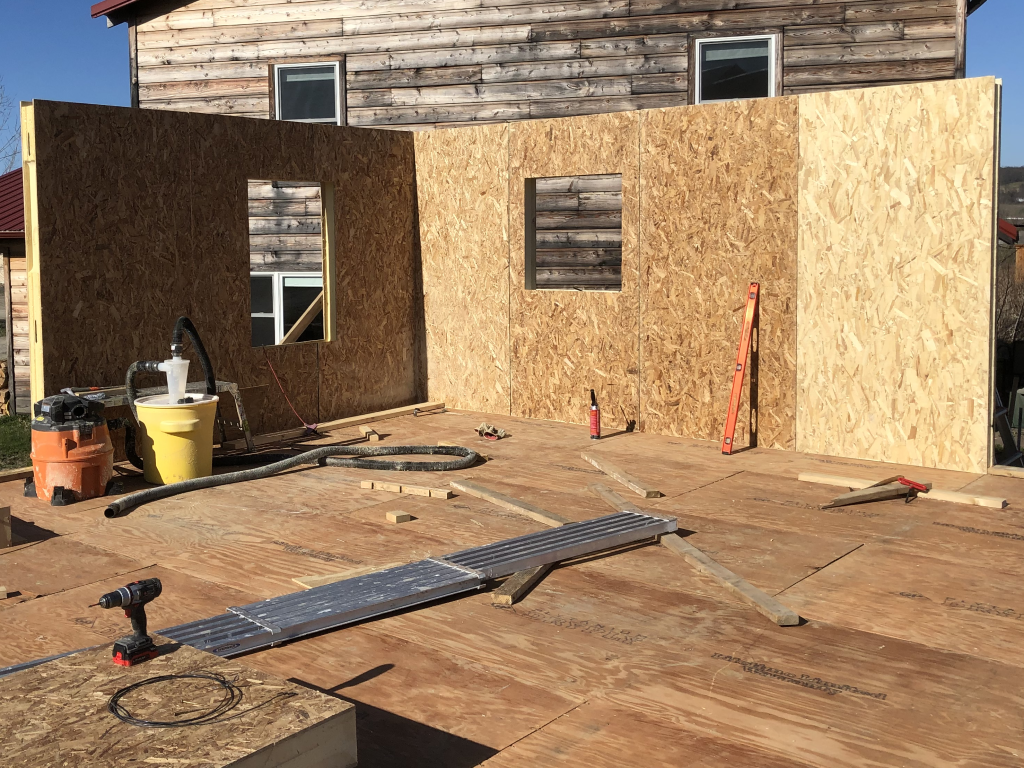
In the end, I took a different (sliding, rather than tilting) approach to getting it into place, which was successful, and I was able to get my third corner done before nightfall.  (Just barely before, as you can probably tell from the lighting in the photo.)

Apr 28, 20:28: First West Wall SIP


East Wall Finished

Yesterday I finished the east wall, as well as getting in the bathroom window.  Four SIPs in total, including putting in the top inlet nailers.  Today it is snowing and raining and sometimes both, so progress has gone on pause again.

Completed east wall
Apr 25 15:10: Completed East Wall
Completed bathroom window
Apr 25 18:05: Completed Bathroom Window (North Wall)

A brief note on COVID-19.  Right now in NY state, single-person construction companies are allowed to operate on the premise that they can’t get anyone else sick.  So I fall under that.  However, when it gets to the point that I need help, e.g. bringing in a crane to lift the beam that supports the roof ridge, I will probably need to be past that.  As of today (Apr 26) Governor Cuomo has suggested that construction companies may be among the things to open when the stay-at-home orders are lifted (currently scheduled as May 15).  So, if I can have the SIPs completed by May 15, I should be able to schedule the roofing to begin shortly after that.  This gives me a narrow 3-week window to complete the main work of closing in the structure before Jun 8, when I’m scheduled to return to work full time.  So, that’s my timeline right now.


Time Keeps on SIPping

My original estimate was that I could do two SIPs per day, which would mean that I could complete the approximately 43.5 SIPs between their scheduled delivery on Apr 3 and May 6.  I thought it would be interesting to graph my progress toward the goal to see how the estimates compared to the reality.

Unfortunately as already mentioned, I was still working on redoing the floor until Apr 14.  That put me about 10 calendar days behind.  The first SIPs, however, started to go up faster than I had predicted. In late April and early May there were a number of weather-related delays.  Following this, there was a long pause up to May 24th where I was getting structural walls, joists, and flooring in place in order to have the platform to build the second story.  Between May 24 and Jun 5, the second story SIPs went into place.  I completed the SIPs just before I began my new job.

In the updated version of this chart, you can see that my rate estimate wasn’t too far off, but basically failed to account for the work building the platforms for both the first and second stories.

Final SIP Progress Chart through Jun 7
SIP Progress Chart through Jun 7 – All Done

See Foam Spray

When I talk about “foam spray” I’m not trying to conjure images of the (original) Little Mermaid, and I’m not even talking about the cans of compressed foam material that came with my SIP order.  What I’m actually referring to is the rather unexpected spray of small foam particles that I’ve been contending with since I began working with my new SIPs.

Murus panel router

Each SIP needs to be routed out at the top and bottom and at every edge where structural components (such as window frames) need to be added.  Murus Co., my SIP vendor, offers a cleverly designed tool to rout out the foam to the exact depth of a 2×6 member.


What they don’t tell you is that when you do this, it snows.  Not the cold stuff, because it’s snowing insulation after all.  Do not try this on a windy day.  To help with this, I decided I needed to make a separate tool, which is a foam-catcher.  I plug the shop vac directly into the end of this, and it does help contain the foam spray.

Foam spray containment boxHowever, the best solution so far has been actually getting up the first walls.  Once I had my corner in place (with some help from my more experienced neighbor Dane) I was able to get a few panels in place myself.  This shielded from enough of the wind that further routing inside the partial walls was relatively contained.

First four SIPs
Apr 19: First four SIPs installed

After this, I began installing more SIPs on the east wall.  By the end of the day on Apr 20, I had seven SIPs in place and I thought all was going rather well.

Apr 20: Seven SIPs

That was until I woke up on Tuesday morning and realized that I had forgotten to include the structural members in the center of the east wall which would provide the primary vertical support for the roof ridge beam.  Ugh…  So after attempting to pull out the ring-shank nails unsuccessfully, and a trip to the store to pick up a better tool, I was thrilled that I was actually able to pull out all of the nails rather easily.  Getting the panel loose from the foam which had glued it in place was a bit more difficult.  (Okay, a lot more difficult, it took longer to get it free than it took to get out the ~2 dozen nails.)  But eventually I was able to take it down, leaving me back at six nearly-completed SIPs on Apr 21.

Apr 21: Six SIPs

The SIP I removed (on the top of the wrapped stack) is still in relatively good condition; I was worried that I was going to have to cut it loose, but this turned out not to be necessary.  nevertheless, out of an abundance of caution, I’m going to put it aside for use in a non-load-critical location, probably on the second floor, just in case the process did invisible damage to the structure.  I’ll take a brand new SIP to replace it in this structural location on the first floor.

Unfortunately, the weather has now gotten too windy, snowy, rainy, and cold to proceed for a few days.  (The foam is supposed to be applied at temperatures over 50°F, and I doubt I could manage to hold onto a 4×8 SIP with 20 mile-per-hour winds.)  So I’m working on some other home projects for a few days, and getting this blog up to date!


Re-floor-mation Completed

Between Mar 1 and Apr 14, I completed the process of removing the old subfloor and replacing it with a new, lower subfloor, as described in my Floor Mark 2 post.  All told, I spent:

  • 89 hours constructing the original floor (2019-10-08 to 2019-11-21)
  • 12.5 hours in mitigation/drying efforts (2019-11-21 to 2019-12-13)
  • 32 hours removing the original floor (2020-03-02 to 2020-04-06)
  • 59 hours installing the new floor (2020-03-02 to 2020-04-14)

I finished getting the new joists installed:

Floor joists
Final section of new floor joists


…and reinstalled the subfloor the same day (although I didn’t get the photo until the next morning):

New flooring
New flooring finished


Then, I was ready to start on SIPs.  More on that in the next post.

Construction Becomes My Full-Time Job

Friday, Apr 3 was my last day with my previous full-time employer.  While many in the country (and some at my former employer) are being laid off due to COVID-19, this was a voluntary departure for me.  I gave notice on March 16, well before the future magnitude of the economic impact of COVID-19 in the US was clear to the average citizen.  (I kind of had an inkling, though many aspects of the timing and time course of events were still surprising.)

This now makes our little construction company my full time job.  I scheduled all of this to (supposedly) correspond with the delivery of my SIPs (structural insulated panels).  However, because of weekends taken delivering Raederle to and recovering her from a trip to Costa Rica, I lost a bit of the time I expected to have for removing the old floor (“deflooring” as I’ve been calling it) and reinstalling the new one.  Then, in a pleasant surprise, my SIPs arrived more than a week earlier than expected on Mar 25.  So now I’m a little “behind the eight ball“.  (Q: “How will house construction go?”  A: “Without a doubt”)

I want to try to update more often so that the rapid progress can be reported, but I have to balance that against getting the most out of the usable working hours.  So we will see how that goes.

New joists
I spent free time over the winter cutting new joists (Jan 3)
Floor deconstruction
When the weather looked good I began deflooring the house (Mar 25)
Removing moldly boards
As I suspected, the water during the winter had grown some mold (Mar 31)
Deflooring in progress
Deflooring in progress, most of the rockwool removed (Mar 26)
Floor stripped down
Much of the floor stripped down to PT plywood (Apr 1)
New joists installed
First row of new joists installed between I-beam and rim joists, and leveled (Apr 4)
Reinstalled subfloor
First portion of subfloor reinstalled over new joists (Apr 4)