When I talk about “foam spray” I’m not trying to conjure images of the (original) Little Mermaid, and I’m not even talking about the cans of compressed foam material that came with my SIP order. What I’m actually referring to is the rather unexpected spray of small foam particles that I’ve been contending with since I began working with my new SIPs.

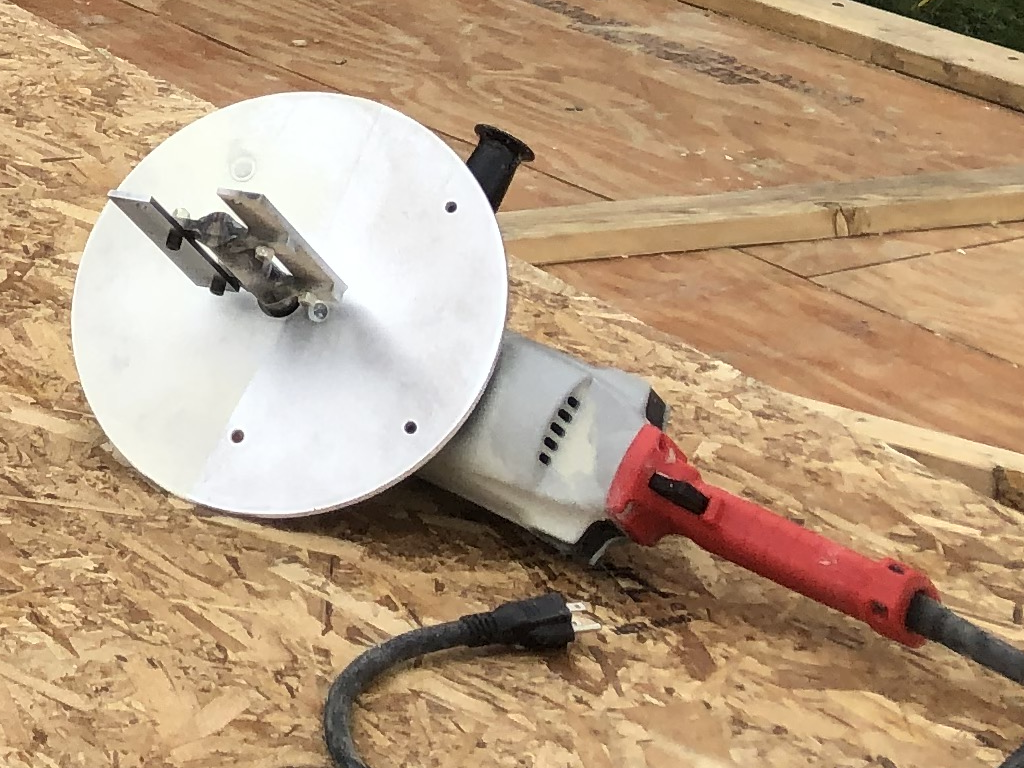
Each SIP needs to be routed out at the top and bottom and at every edge where structural components (such as window frames) need to be added. Murus Co., my SIP vendor, offers a cleverly designed tool to rout out the foam to the exact depth of a 2×6 member.
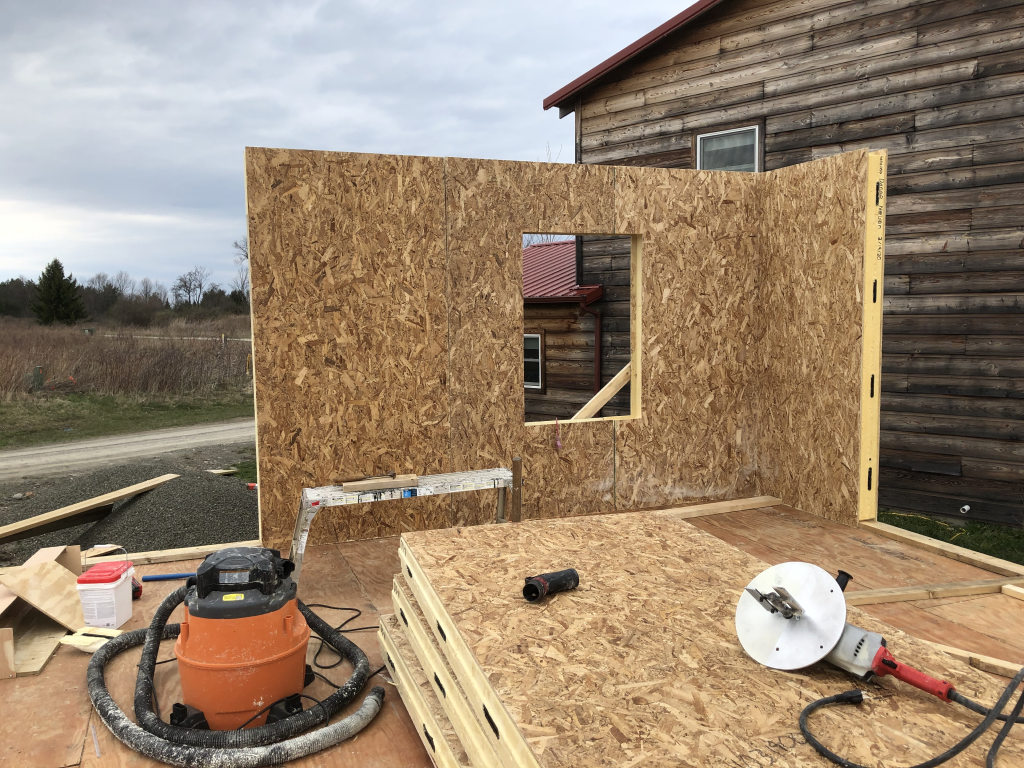
What they don’t tell you is that when you do this, it snows. Not the cold stuff, because it’s snowing insulation after all. Do not try this on a windy day. To help with this, I decided I needed to make a separate tool, which is a foam-catcher. I plug the shop vac directly into the end of this, and it does help contain the foam spray.
 However, the best solution so far has been actually getting up the first walls. Once I had my corner in place (with some help from my more experienced neighbor Dane) I was able to get a few panels in place myself. This shielded from enough of the wind that further routing inside the partial walls was relatively contained.

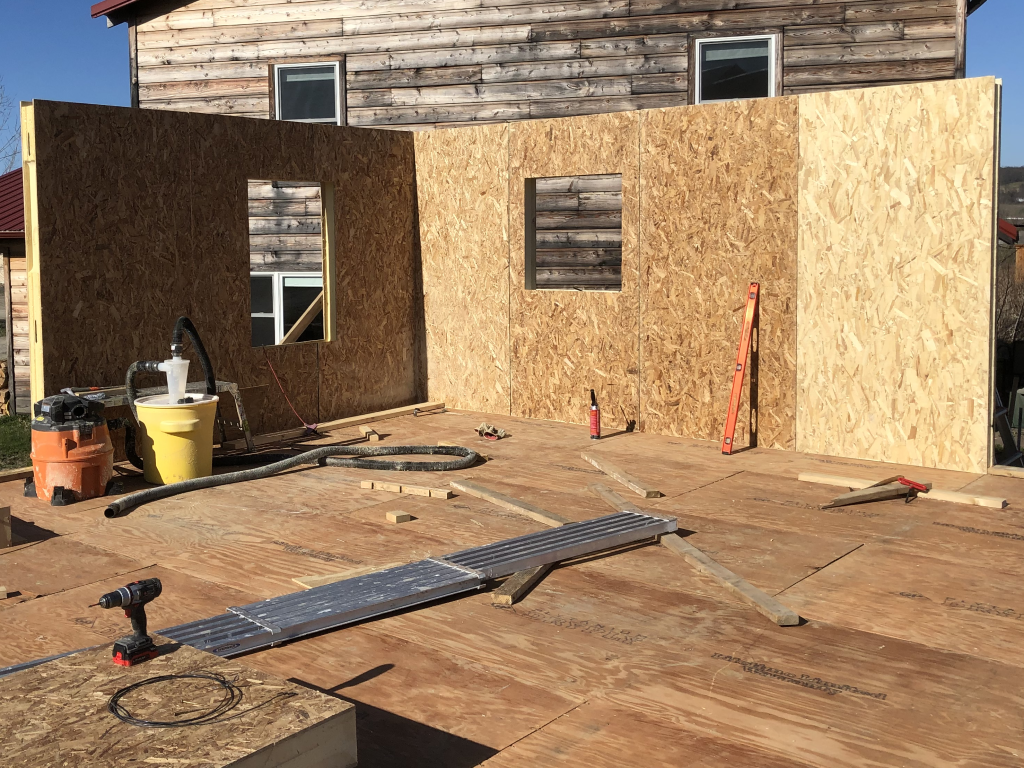
After this, I began installing more SIPs on the east wall. By the end of the day on Apr 20, I had seven SIPs in place and I thought all was going rather well.

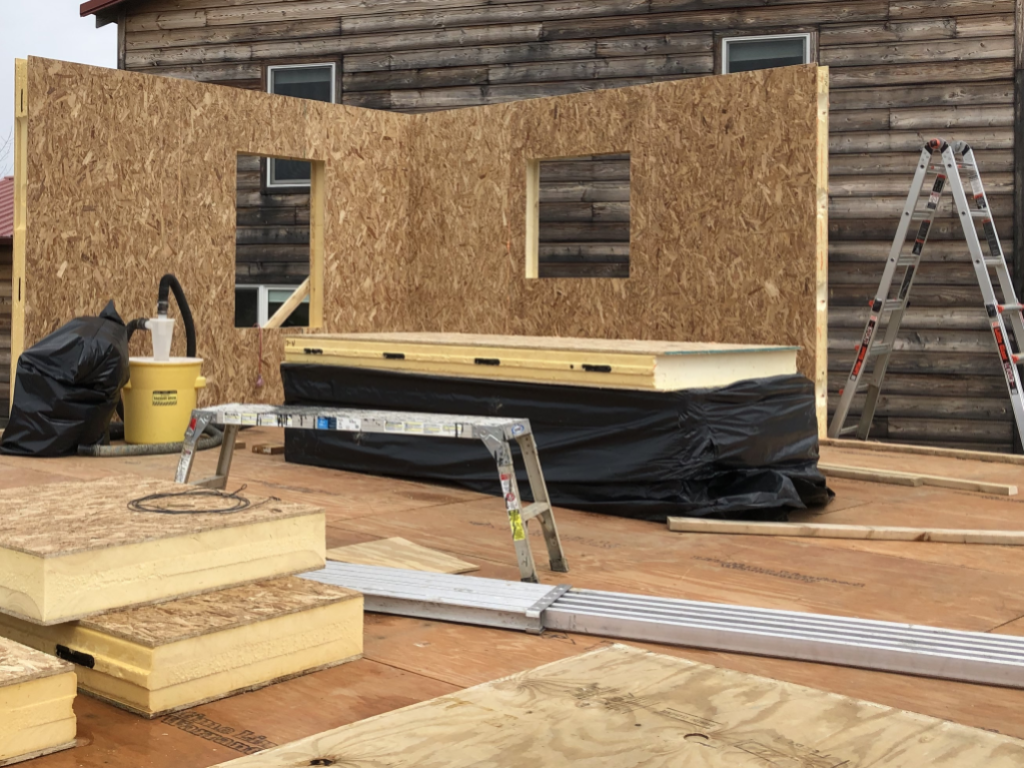
That was until I woke up on Tuesday morning and realized that I had forgotten to include the structural members in the center of the east wall which would provide the primary vertical support for the roof ridge beam. Ugh… So after attempting to pull out the ring-shank nails unsuccessfully, and a trip to the store to pick up a better tool, I was thrilled that I was actually able to pull out all of the nails rather easily. Getting the panel loose from the foam which had glued it in place was a bit more difficult. (Okay, a lot more difficult, it took longer to get it free than it took to get out the ~2 dozen nails.) But eventually I was able to take it down, leaving me back at six nearly-completed SIPs on Apr 21.

The SIP I removed (on the top of the wrapped stack) is still in relatively good condition; I was worried that I was going to have to cut it loose, but this turned out not to be necessary. nevertheless, out of an abundance of caution, I’m going to put it aside for use in a non-load-critical location, probably on the second floor, just in case the process did invisible damage to the structure. I’ll take a brand new SIP to replace it in this structural location on the first floor.
Unfortunately, the weather has now gotten too windy, snowy, rainy, and cold to proceed for a few days. (The foam is supposed to be applied at temperatures over 50°F, and I doubt I could manage to hold onto a 4×8 SIP with 20 mile-per-hour winds.) So I’m working on some other home projects for a few days, and getting this blog up to date!